Taking Photos at Touristy Places

I know it seems like I've been doing a lot of glamorous traveling the last few months... okay, I have.  That was a bad way to start this out.  Let me try again.  

I've been doing a lot of cool traveling the last few months and almost every time I've brought my camera and without a doubt, every time, I've learned something.  One of the really became aware of was how to take a picture at popular tourist locations. As photographers, we often find ways to make interesting images that are different from the norm by taking our cameras to out-of-the-way places that haven’t been flooded with photographers. But what about those times when you’re heading somewhere that has been photographed millions of times already? Is it possible to create interesting photos of tourist destinations? I work with a view of the Golden Gate Bridge and almost every day I think about new and interesting ways to shoot that bridge that haven't been done a million times already. Or, as many of you know, I work at Lucasfilm and we have a pretty well known status of Yoda in front of our office and it's gets photographed at least 100 times a day... and ALL of the photos look exactly the same.

Let’s consider how you can make an interesting photo, at a famous location.  

#1 First, cover the usual

Although we want to make photographs that go above and beyond the usual tourist snapshots, that doesn’t mean you’ll want to ignore those vantage points entirely. You’re at the location and you’ve probably seen the postcard photo a hundred times, but this might be your first time there with your camera. You got to take the shot everybody is expecting and then go find the more unique shots.  You can be sure that when I went to Australia, the first thing I shot was a picture of the Sydney Opera House with the bridge in the background.  But once I took that shot i started walking.  I walked all around the Opera House, looking for a more unique and interesting shot.

Everybody takes this shot of the bridge.  Try something different!

Like this!

#2 The Usual… with a twist

Try to mix it up a bit. How about that usual shot but with some sort of twist? Is there an element you could add to the composition for context? How about What would the usual shot look like if you got there before everyone else? Could a lack of people improve your shot? Do some research and see if there are any early entry or behind-the-scenes options.  Going somewhere by boat?  Get the boat in your shot, or a shot of people getting on or off the boat.  At Disneyland?  Include your ticket stub or ice cream in your shot.  At Disneyland I love to get shots that include the iconic Mickey ears.  They make for great photos.


#3 Turn around and look behind you

Here's a biggie and you've heard me say it many times.  Well, you don't hear me, so you've read about me saying it many times. I’ve made many photographs simply by turning around and looking in the opposite direction to where everyone else is pointing their cameras. Could you get an interesting photo of Marin while most folks photograph the Golden Gate Bridge from the north? As someone is photographing a sunset over the ocean, what if you turned around to see what the golden light is doing to the scene at your back? This has ended up being my favorite shot more times than I can remember.


I've shown this shot before, but the point is this was what I saw when I turned around from what I was actually shooting.  I never would have seen it if I was just focused on the shot I came for.

#4 Look for details

Capture the expected, famous images. Get one with the whole Golden Gate Bridge in the frame. Go wide and ensure you have a photo of the full height and breadth of the Arc de Triomphe or the Sydney Opera House.

After you’ve done that, look for details. Instead of all of the Eiffel Tower, how about just the top with a cool foreground ? Take a look around at signs. I love including signs from foreign places in my photos? Is there something old and worn out that helps tell the story of the location? Is there something fresh and new? Is there something new AND old?  Okay, I don't know what that would be, but you get the idea. Whether you use a zoom lens or just “zoom with your feet” and walk closer, get up close. Photographing a ship in port? Get a shot of the rope wrapped around the cleat at the dock. Hiking to a waterfall? Fill the frame with the area where the water hits the rocks, and get a photo of the trailhead sign as well.

So, I think the goal of this post is pretty clear.  Go out at take that shot of the Grand Canyon, Hollywood sign, Mt. Rushmore, Empire State Building, etc., but don't stop with that expected photo.  More your feet, walk around, look up, look down and take some unexpected photos that are yours alone.  They will end up being much more special to you and more interesting for others to view.  Good luck!!

The Beaches of St. Maarten

So it turns out that St. Maarten doesn't just have great people... they have a few great beaches too!  I'm assuming nobody remembered or even read last week's post, so I figured I mention a few of the key facts again.

The island has over 70km of coastline, has 37 beaches, and as I mentioned last week, is located between the Atlantic Ocean and the Caribbean Sea. St. Maarten features some of the world’s finest seascapes. From unspoiled, quiet shores to lively hubs of activity (with plenty of places to buy stuff... trust me, there are places to buy stuff everywhere and we found all of them), every single one of St. Maarten’s beaches is totally unique and reflects the rich diversity of the island itself. The 37 beaches on the island are so beautiful, they rank among the finest in the Caribbean.  There's plenty of water activities to participate in, from diving, surfing, windsurfing, kitesurfing and fishing... or if hanging out on the beach and basking in the sun is more your style, you can do that too.  There's something for everyone and although we spent a lot of time playing in the ocean and laying in the sun, we found time to go diving, snorkeling and even swam with the dolphins in Anguilla.  I highly suggest making the day trip Anguilla if you ever find yourself in St. Maarten.  Not only is it another country with beautiful beaches and really good food, but it's another place to buy stuff and apparently this family will never pass up an opportunity to shop.

I've got to admit, as relaxing and fun as laying on the beach was, I enjoyed taking pictures of it even more.  So here are some of my favorite beach pics from the island.  Hope you enjoy!


Not all the beautiful views are found during the day.  Stay out for the golden hour, right before sunset, and stay for sunset.. it makes for spectacular images.

 A slow shutter speed (this was shot at 16 sec.) is what gives the water in this shot such a soft, dreamy look.  Water is a really fun thing to shoot with a slow shutter speed.

The problem with taking photos of beaches in St. Maarten is they're most often covered in people.  Get out early or stay late... you'll have the best light and a better chance of finding an unpopulated area.

In St. Maarten there are awesome views of a beach all over the place.   This wasn't the greatest view but I thought made for a really interesting image.  

Literally saw this tree off the side of the road as we were driving back to the hotel.  Made a u-turn and went back to shoot this scene.  Glad I did cause I would have been sad to miss this image.

Don't forget to look around and don't always just shoot what's in front of you.  Get down on the ground, or do what I did for this image... look up.  You never know what you'll see.

The People of St. Maarten

Hi all!  Did you miss me?  Come on... even a little bit?  Well, even if you didn't, I'm going to pretend you did, cause it will make me feel much better about myself.  If you didn't notice, I've been on vacation.  I was gone for a week and returned a few days ago.  It's great to be back (and if you believe that, I have a tiny island in the Caribbean to sell you).  It actually sucks to be back.  Vacations are awesome and this one was particularly great.  My family and I took a week and went to the island of St. Maarten.  St. Maarten is an island in the northeast Caribbean, approximately 300 km (190 mi) east of Puerto Rico. The 34 square mile island is divided roughly 60/40 between France (20 square miles) and the Kingdom of the Netherlands (13 square miles). The two parts are roughly equal in population. It is one of the smallest sea islands divided between two nations, a division dating to 1648. The southern Dutch part comprises Sint Maarten and is one of four constituent countries that form the Kingdom of the Netherlands. The northern French part comprises the Collectivité de Saint-Martin (Collectivity of St. Martin) and is an overseas collectivity of France.  On January 1, 2009 the population of the entire island was 77,741 inhabitants, with 40,917 living on the Dutch side, and 36,824 on the French side.  Collectively, the two territories are known as "St Maarten". 

So what's important for you to know?  Well, we went on vacation.  We went to St. Maarten.  It's in the Caribbean.  There are Dutch and French people.  It was awesome.  I took a lot of pictures.  It was awesome... and it was pretty awesome.

I took my canon 5D and three lenses.  I took my 24-105, my 70-200 and my wide angle 16-35.  I figured between the range of those three lenses, I'd be able to cover anything I needed while still keeping my bag relatively light.  I also took all my filters and my tripod.  I learned a few trips ago to never travel without a tripod.  It makes traveling a little more difficult, but it's always worth it and I'm always glad I brought it.  Oh and in case you're wondering, it's totally fine to travel with a tripod in your carry-on when flying.  I attached mine to my bag and put it in the overhead compartment.  No problems on the plane or while going through security.  I took extra batteries and extra memory cards and I was glad I had both, cause I used them.  Don't EVER go on vacation with one battery and one memory card.  The battery will die, the card will get filled, the card will get corrupt... something.  I don't know what will go wrong, but if you don't have extras, trust me... things will go wrong.  If you think you won't take enough pics to fill a memory card, you're wrong. You're on vacation in a new place and you're going take way more pics that you think you will.  For the $20 or $40 dollars it takes to get an additional large memory card, it's totally worth it just to be safe.  You'll thank me after one trip.  Maybe two trips, but probably one.

So, I ended up taking almost 1,000 photos.  i filled two 16 GB cards and I used all the batteries I brought.  I filled two cards with the 1,000 photos cause I shoot RAW and I also took some video.  If you shoot JPEGs and no video, you should easily be able to fit 1,000 photos on a 16 GB card.  BUT... bring a backup card!!!  Just in case.

Well now I have all these photos that I want to share with you, but don't want to just throw them all out there, so I thought I would try and group them together.  Today's post will focus on the people of St. Maarten, so I'm going to share some of my favorite photos I took of people on the island.  Most vacations have pretty locations, great food and interesting people.  I really like meeting and talking to the people in other countries and this trip was no exception.  So take a look below at some of the captures I made of those people  They were definitely one of the best parts of the trip.

I had to throw a picture of my daughter in there.  When you're talking about the people of St. Maarten, none of them like the beach more than this girl.  Trying to get her out of the water was the hardest thing I did on the whole trip.

With security like this, it's amazing there's any crime on the island.  I mean look at this guy... tough as nails... and the nicest guy ever.

This guy couldn't understand why I didn't originally ask to take his picture.  Looking back, I don't understand either. 

The prettiest I found on the island... and the one I took home. :-)

This guy was selling coconuts on the beach.  When you see people like this, buy what they're selling and then ask to take their picture.  They'll almost always be happy to let you snap away and may even pose a bit for you like this guy.

Happiest, nicest and smartest guy we met on our trip.  I wanted to put him in my suitcase and take him home with me.

Saw these kids fishing in Marigot.  A city on the french side of the island.  Love how determined and focused they were and the colors they were wearing looked great.

Found a lady selling spices in a hut on the side of the road.  What's not to love about her.  The colors, her smile, her personality... all awesome.

I Need a Vacation!

Well, I don't really need a vacation, cause it seems like I just got back from Israel a few weeks ago, but that doesn't mean I'm not really excited about my next one and it just so happens my next one is in three weeks!  The family and I are going to St. Martin at the end of the month.  By the way, if you have any tips, recommendations, suggestions, information or hook-ups in St. Martin, LET ME KNOW!  As of today I only know where we're staying and when we're leaving and coming back.  Other than that I have no idea what we're doing.  I do however know I'll be taking my camera equipment and taking lots of pictures.  

St. Martin is an island in the northeast Caribbean, approximately 300 km east of Pureto Rico.  Okay, you now know as much as I do about where we're going.  So how do I know what to take photos of?  Well, 500px and Google+ are both great for scouting out locations.  I just put St. Martin in the search box of both site and a plethora (yeah, I said plethora) of images came up.  One thing I quickly learned is that the landscape and beaches are really beautiful and I'm sure a majority of my pictures will be landscape shots.  Well, actually the majority will probably be of my kid, but the second majority will be landscape shots.  I realize that "second majority" isn't really a thing, but this is my blog, so I can say whatever I want!

Given how many landscape shots I plan on taking, I thought I would give you my top three landscape tips.

1) Go to a place with cool landscapes!  Okay, that was kind of a freebee, so I'll give you three more.

1 again) Chase the light!

Light is quite simply, everything. Without good light, an image can appear flat and lifeless. You will be totally amazed at how different your photos look when taken in good light as opposed to the harsh midday light you get at, well, midday.  Most landscape photographers are up at the crack of dawn to catch the sunrise and while you may not wish to do this every day you're on vacation, you could be missing out on one of the most magical times of day when the light is soft and it’s most flattering. The golden hour, which occurs in the late afternoon and early evening is also another fantastic time. Avoid shooting in the middle of the day when the light is harsh and contrast is high, shadows will be very dark and your camera will struggle to meter effectively. It may well be that you have to go back several times to a location before you get the image you want as the conditions are not quite right. This is not always possible when you are on vacation and have limited time but be more easily achieved at home.

2) Try to get a good sky!

A good sky can really make an image. There is nothing worse than a dull grey or bland blue sky lacking in interest. What might at first appear like a beautiful day with warm sun and no clouds will probably end up giving you a pretty boring image.  Clouds play an important part also in casting shadows on the landscape before you, adding form and dimension. If you don't have a good sky, don't not take the pictures.  Take it... you might never get that exact photo again and you can always fix it in Photoshop! ;-)  Try devoting two thirds of the image to the sky.  Of course if the sky isn't interesting, devote the majority of the sky area in the image to the landscape and hide the uninteresting sky.

3) Get good composition!

The way you compose your image, or in other words, position the various elements within the frame is vitally important. There are various guidelines which we can follow. The ‘rule of thirds’ is one, whereby imaginary lines are drawn, dividing the image into thirds both horizontally and vertically. Important elements of your composition are then placed where these lines intersect. Quite often the horizon is positioned along the bottom third. However, rules are also there to be broken, so don’t be afraid to try placing your main subject in the center of the frame sometimes – this often works best with very simple compositions.

Including some foreground interest will help to achieve a more balanced composition, as well as add depth and help draw eyes into the scene. Lead in lines, such as a path, wall or river can be used to achieve the same effect.

So there you have it, three of the important things to consider when taking landscape photos.  Maybe we'll have one more post before I leave and we can talk about planning a vacation shoot, or what to bring, or how to make a cheeseburger... or something.

What is White Balance?

The more you spend time around photographers and start learning about photography, the more you'll hear about and encounter the concept of white balance.  So, what is it?  Well, let me see if I can help explain it, because it's an aspect of photography that many people don't understand or make the most of, but it's something that can really impact the shots you take, so let's spend some time of the subject.

First thing to know is there's no balancing.  Well there is, but not in the typical sense. You don't want equal parts of light and shadows to balance the light.  At its simplest form – the reason we adjust white balance is to get the colors in your images as accurate as possible. You might have noticed when examining shots after taking them that at times images can come out with an orange, blue, or more often yellow look to them – despite the fact that to your eye the scene looked quite normal. The reason for this is that images that have different sources of light have a different ‘color’ (or temperature) to them. Fluorescent lighting adds a bluish cast to photos whereas tungsten (incandescent/bulbs) lights add a yellowish tinge to photos. After reading this statement you're probably going "oooooohhhh, that's why the family pics I took at Christmas all looked yellow," or "those beautiful photos I just took at the local Home Depot all look too blue!"  As you might know, or have heard at some geeky photography party, light temperature is measured in Kelvins (K), where artificial light such as tungsten bulbs have lower light temperatures, around 3000 K, and natural light in the shade has a higher temperature, around 9500 K. 

Here is a quick rundown of some different lighting conditions, and their approximate measurements in Kelvins:

  • Tungsten: 2500-3500 
  • Sunrise/Sunset/Golden Hour: 3000-4000
  • Fluorescent: 4000-5000
  • Flash: 5000-5500 (flashes are made to reproduce, as accurately as possible, natural daylight, which is around 5500 K)
  • Clear Daylight: 5000-6500
  • Cloudy: 6500-8000
  • Shade: 9000-10,000

We don’t generally notice this difference in temperature because our eyes adjust automatically for it. So unless the temperature of the light is very extreme a white sheet of paper will generally look white to us. Although, of course, a white sheet of paper that you pee'd on might look yellow.  However a digital camera doesn’t have the smarts to make these adjustments automatically and sometimes will need us to tell it how to treat different light. So for cooler (blue or green) light you’ll tell the camera to warm things up and in warm light you’ll tell it to cool down.

Preset White Balance Settings

Here are some of the basic White Balance settings you’ll probably find on your camera:

  • Auto – this is where the camera makes a best guess. You’ll find it works in many situations but it’s worth venturing out of it for trickier lighting.
  • Tungsten – this mode is usually symbolized with a little bulb and is for shooting indoors, especially under tungsten (incandescent) lighting (such as bulb lighting). It generally cools down the colors in photos.
  • Fluorescent – this compensates for the ‘cool’ light of fluorescent light and will warm up your shots.
  • Daylight/Sunny – It sets things as fairly ‘normal’ white balance settings.
  • Cloudy – this setting generally warms things up a touch more than ‘daylight’ mode.
  • Flash – the flash of a camera can be quite a cool light so in Flash WB mode you’ll find it warms up your shots a touch.
  • Shade – the light in shade is generally cooler (bluer) than shooting in direct sunlight so this mode will warm things up a little.

Some people, who like warmer looking shots, will shoot almost all their photos outdoors with the white balance set to cloudy or shade no matter how sunny it is, as it really warms things up.

Want to know what an image looks like that's too cool and needs to be warmed up?  Notice the blue tinge on the photo?  It's way too blue and needs some yellow to balance it out.

And going in the other direction, here's the photo with too much yellow so it's too warm.  We need to adjust down the yellow and add some blue.

Here is the same shot with what I'd call a "proper" white balance.  You can click on the image to view it full size.

Sometimes, you can’t always get the perfect white balance in camera, especially if you are shooting in a hurry, or in lighting conditions that keep changing. That's what editing software is for!  Lightroom, Photoshop, Aperture and plenty of others, all make adjusting white balance really easy and fast.

The best practice here is to always shoot in RAW. Shooting in RAW preserves more data than a JPEG file, allowing you to make more adjustments in your editing. 

While you are editing, keep in mind the idea that you want your whites to be white – not light blue, not yellow, just white. If you're water looks like pee, you've done something wrong. (Wow, I want points for getting "pee" into this blog entry not once, but twice!)  Unless of course you were going for pee colored water, in which case... way to go!

There are all sorts of tools that can help you obtain proper white balance... targets, expodiscs and software can all help make this process easier and faster.  If you have any questions, please let me know.

See ya next time!


Taking a Pano (Part II)

... and we're back!  

When I left you last week we were learning about how to put together a panorama, uh, I mean pano, in your camera.  If you're not familiar with this process, check out last week's post.  We learned how to set up your camera and the process of how to take a pano.  Well, now is the easy part.  We've got all these separate images that we took, but how do we put them all together so they look a little more like this.

Okay, you have all these photos of a scene, taken from the left side of your view to the right and you've overlapped them like we talked about last week, but now what?  Well, the easiest thing to do is print out all your photos and tape them together on a big white board.  If you look at this board from, oh, I'd say about fifty feet away, nobody will be able to see the seams or the tape and will think it's a perfectly processed pano.  Since that's the easiest, but not the best, let's talk about other options.  There are a bunch of programs out there that will stitch together your images, but I've found that plain old Photoshop, or Photoshop Elements, is not just the easiest, but does a darn good job and a lot of photographers already have them, so you don't have to go out and buy new software. Here’s how:

Open up Photoshop and choose File > New > Photomerge Panorama. You’ll get a pop-up menu asking you if you want to use individual images (“Files”) or all the images in a single folder (“Folders”). Alternately, you can just open all the files you want to use prior to selecting “Photomerge Panorama,” then you can choose “add open files.”

If you choose “Files” or “Folders,” you’ll then need to navigate to the directory where your photos are stored.  This is all way easier if you're working in Lightroom, but for this post we're gonna assume you're not.

Now choose “perspective” from the layout menu. In the perspective layout, the software will choose the center image as its reference point, and then stitch all the other images together around it, skewing, stretching or repositioning as necessary. There is also an “interactive” layout, which allows you to manually position everything, but that's way more difficult and right now we're talking easy!

Now Photoshop will give you the option of blending the images, which means it will select the best place to join the photos and will blend the colors in order to create an invisible seam. You can also choose to remove any vignettes that may have occurred in the images when you were taking them, and to correct for distortion. It is, of course, better to avoid these problems rather than expect Photoshop to fix them for you, since the software may not do a perfect job and we all know you will, right?

And that’s it – at the basic level, of course.  You've just made your first panorama.  It's actually even easier than this if you're working in Lightroom, cause you can just "merge to panorama in Photoshop" right from your Lightroom library!  

This can be a little difficult to read about, but I promise, once you've tried it a few times, it's pretty easy.  As always, though, feel free to contact me (mattshellphoto@gmail.com) if you have any questions and I can walk you through it.

See ya next week!

Taking a Pano (and a few more pics from Israel)

I kinda struggled with what to write about this week.  I had a few different ideas and I wanted to finish up posting some of my favorite photos from my trip to Israel earlier in the month, so I decided to combine two ideas.  My first idea was about shooting panorama shots, cause I shot a bunch of those the last few weeks, so I decided to do just that -- How to shot panoramas... and a few shots of Israel too!  

First thing you need to know, is that if you want to sound really cool, you gotta call these types of shots panos... not panoramas.  I don't know why, it's just how it is.  It's like calling San Francisco "Frisco."  If you want to sound like a tourist around here, no better way than saying "hey, let's go into "Frisco" for some dinner."  Sure dork, that sounds like a great idea! ;-)  Okay, so we got that out of the way... we're gonna call them panos.  But how do you take them?

Most people take panos of landscapes or cityscapes, but you can do it will all types of shots.  I recently took one of a pier that is one of my favorite all time shots.  You're gonna need three things to make your panos.  1) A camera 2) a tripod and 3) a computer for putting, or stitching together your photos.  There are a bunch of programs you can use to do this, but I fine Photoshop to be the easiest.  It works great for stitching together photos.  You can also take a bunch of photos, print them out and tape them together on a big white board like you're in 3rd grade, but that's a lot more difficult and doesn't look nearly as cool.

So how do you set up for your shot?  A stable position to take your panoramas from is important. Actually, this is almost always important, but with panoramas it is more important because the Photoshop process that joins your photos together is good at what it does but it is not perfect and when it has trouble putting the individual pictures together it either leaves ragged white lines in between the photos or chops large sections out of the photos because it doesn’t know what to do with them.  Now this too is fixable, but why not just avoid the issue in the first place?

I definitely recommend you use a tripod since it allows you to turn your camera slightly in order to take successive shots. If you can’t use a tripod, some sort of flat surface like the top of a wall or fence may work as long as it is possible to take a picture and then rotate your camera slightly and then take another picture without vertical movement.  The key is to have the top and the bottom of your shots stay as constantly similar in all of your shots and that is done most easily with a tripod.

Once you find your spot and set your camera up, rotate it to the extreme right and left edges that you want to include in your photo to make sure nothing is going to get in the way.  I was taking a panorama recently and when I got the photos home, I realized that part of the wall on my right was in the photo.  Total suckage, but luckily it was really easy to remove in Photoshop.

For the panoramic pictures I take I start at the extreme left of what I want to capture but there's no reason you couldn't start on the right side either.  At this point you'll want to take a meter reading and you'll want to shoot in manual, cause you don't want your camera making changes to the exposure as you move the camera.  You want all your photos to be taken at the same exposure, so when you stitch them together in Photoshop they all look the same.  If now, you may have one light photo next to a dark one with a medium one in the middle!  When you have the settings you want and have taken your extreme left pictures it is time to grab a reference point in the viewfinder about 20%-30% away from the right side of your viewfinder. You do this because you are going to swivel the camera so that this reference point is at the far left but still in the viewfinder so that there is some overlap between your photos.  As far as overlap is concerned, you are shooting digitally so snap away, overlap 30-50% if you want, but err on the side of overlapping too much. If you don’t overlap enough, as Photoshop attempts to blend the shots it will not have enough of a fingerprint to blend well and your panorama will end up with the ragged white lines that look horrible.

Once you mentally choose a reference point such as a tree or mountain top, swivel the camera to the right until your reference point is almost at the left edge of the viewfinder. Try not to move the camera position. Once you have swiveled far enough repeat the process that you did to take the first picture.

Now simply just keep doing this.  Repeat this process until you come to the extreme right end of your desired panoramic shot.

You're now ready to stitch the photos together in Photoshop, which is a pretty simple process, but too long to talk about here, so we'll save that for next week.  In the meantime, here are those Israel photos I promised.  Panoramas from Israel!!  Enjoy!

The Western Wall.  Jerusalem.

Sunrise over the Dead Sea.

Shot of the Old City at night.

The Old City looks rest at night, but my favorite time of the day for shooting photos of it was right before the sun went down.  The elusive "golden hour" makes for a rich and colorful photo.

A Street View of Israel

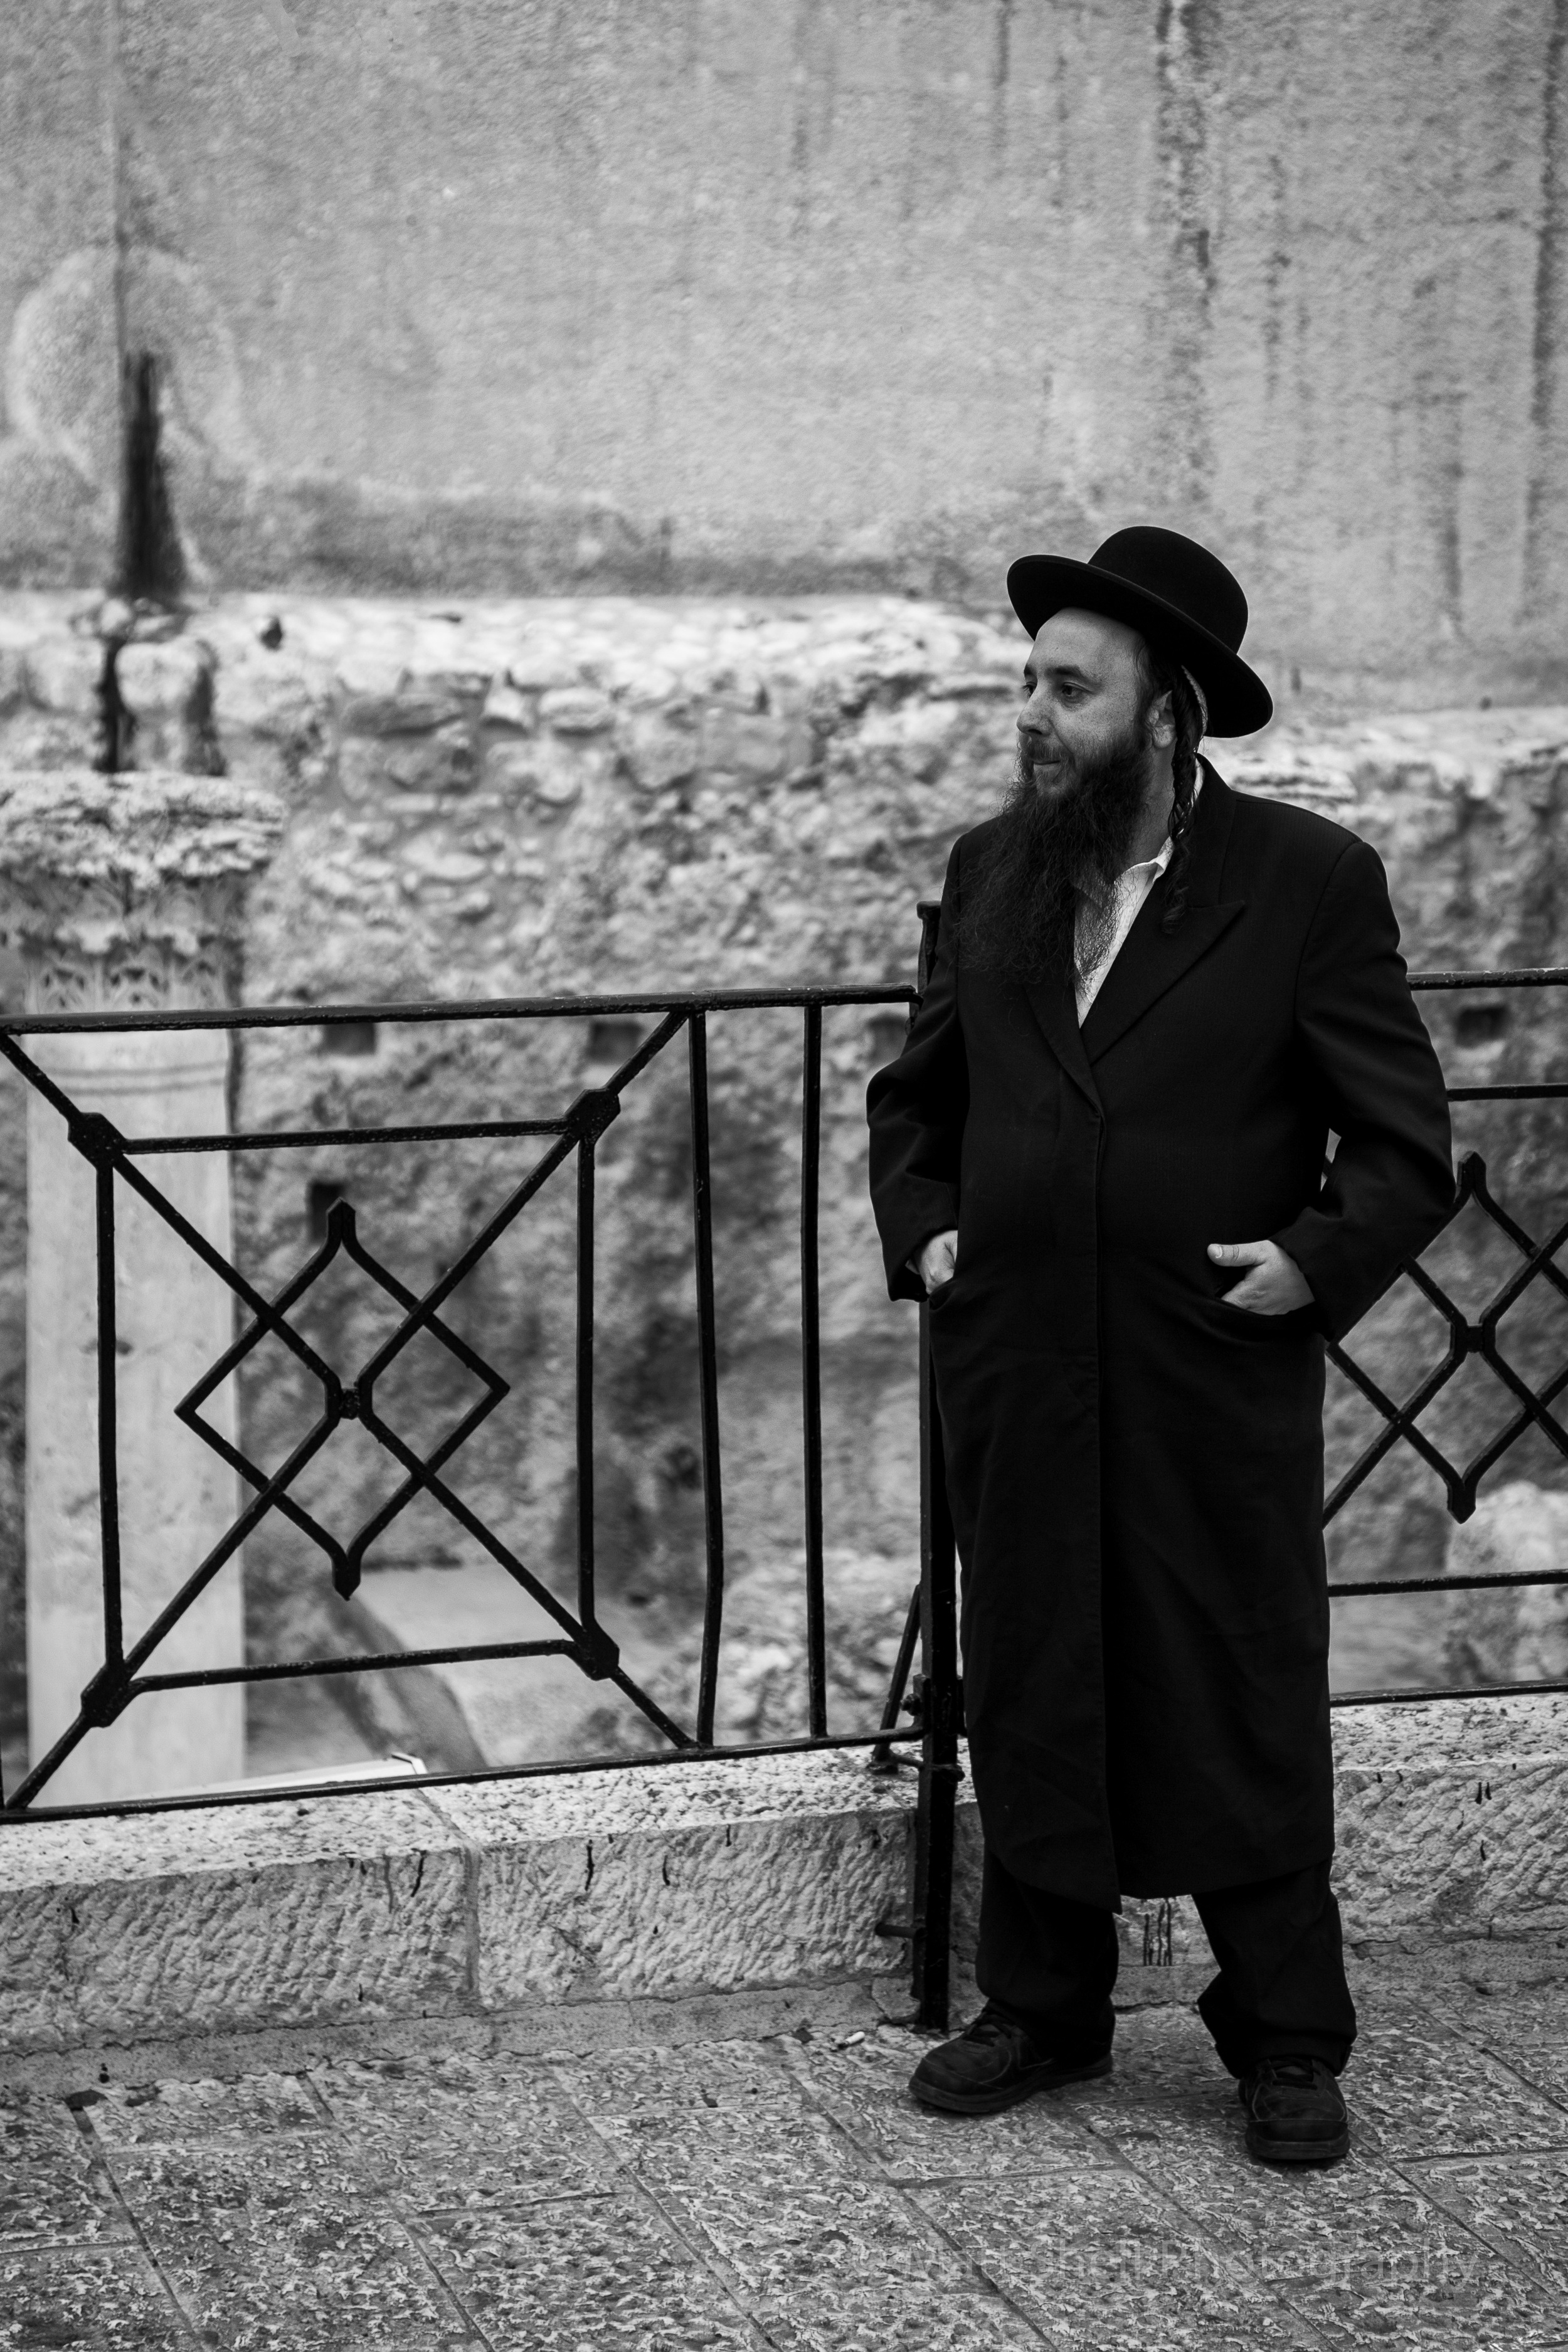
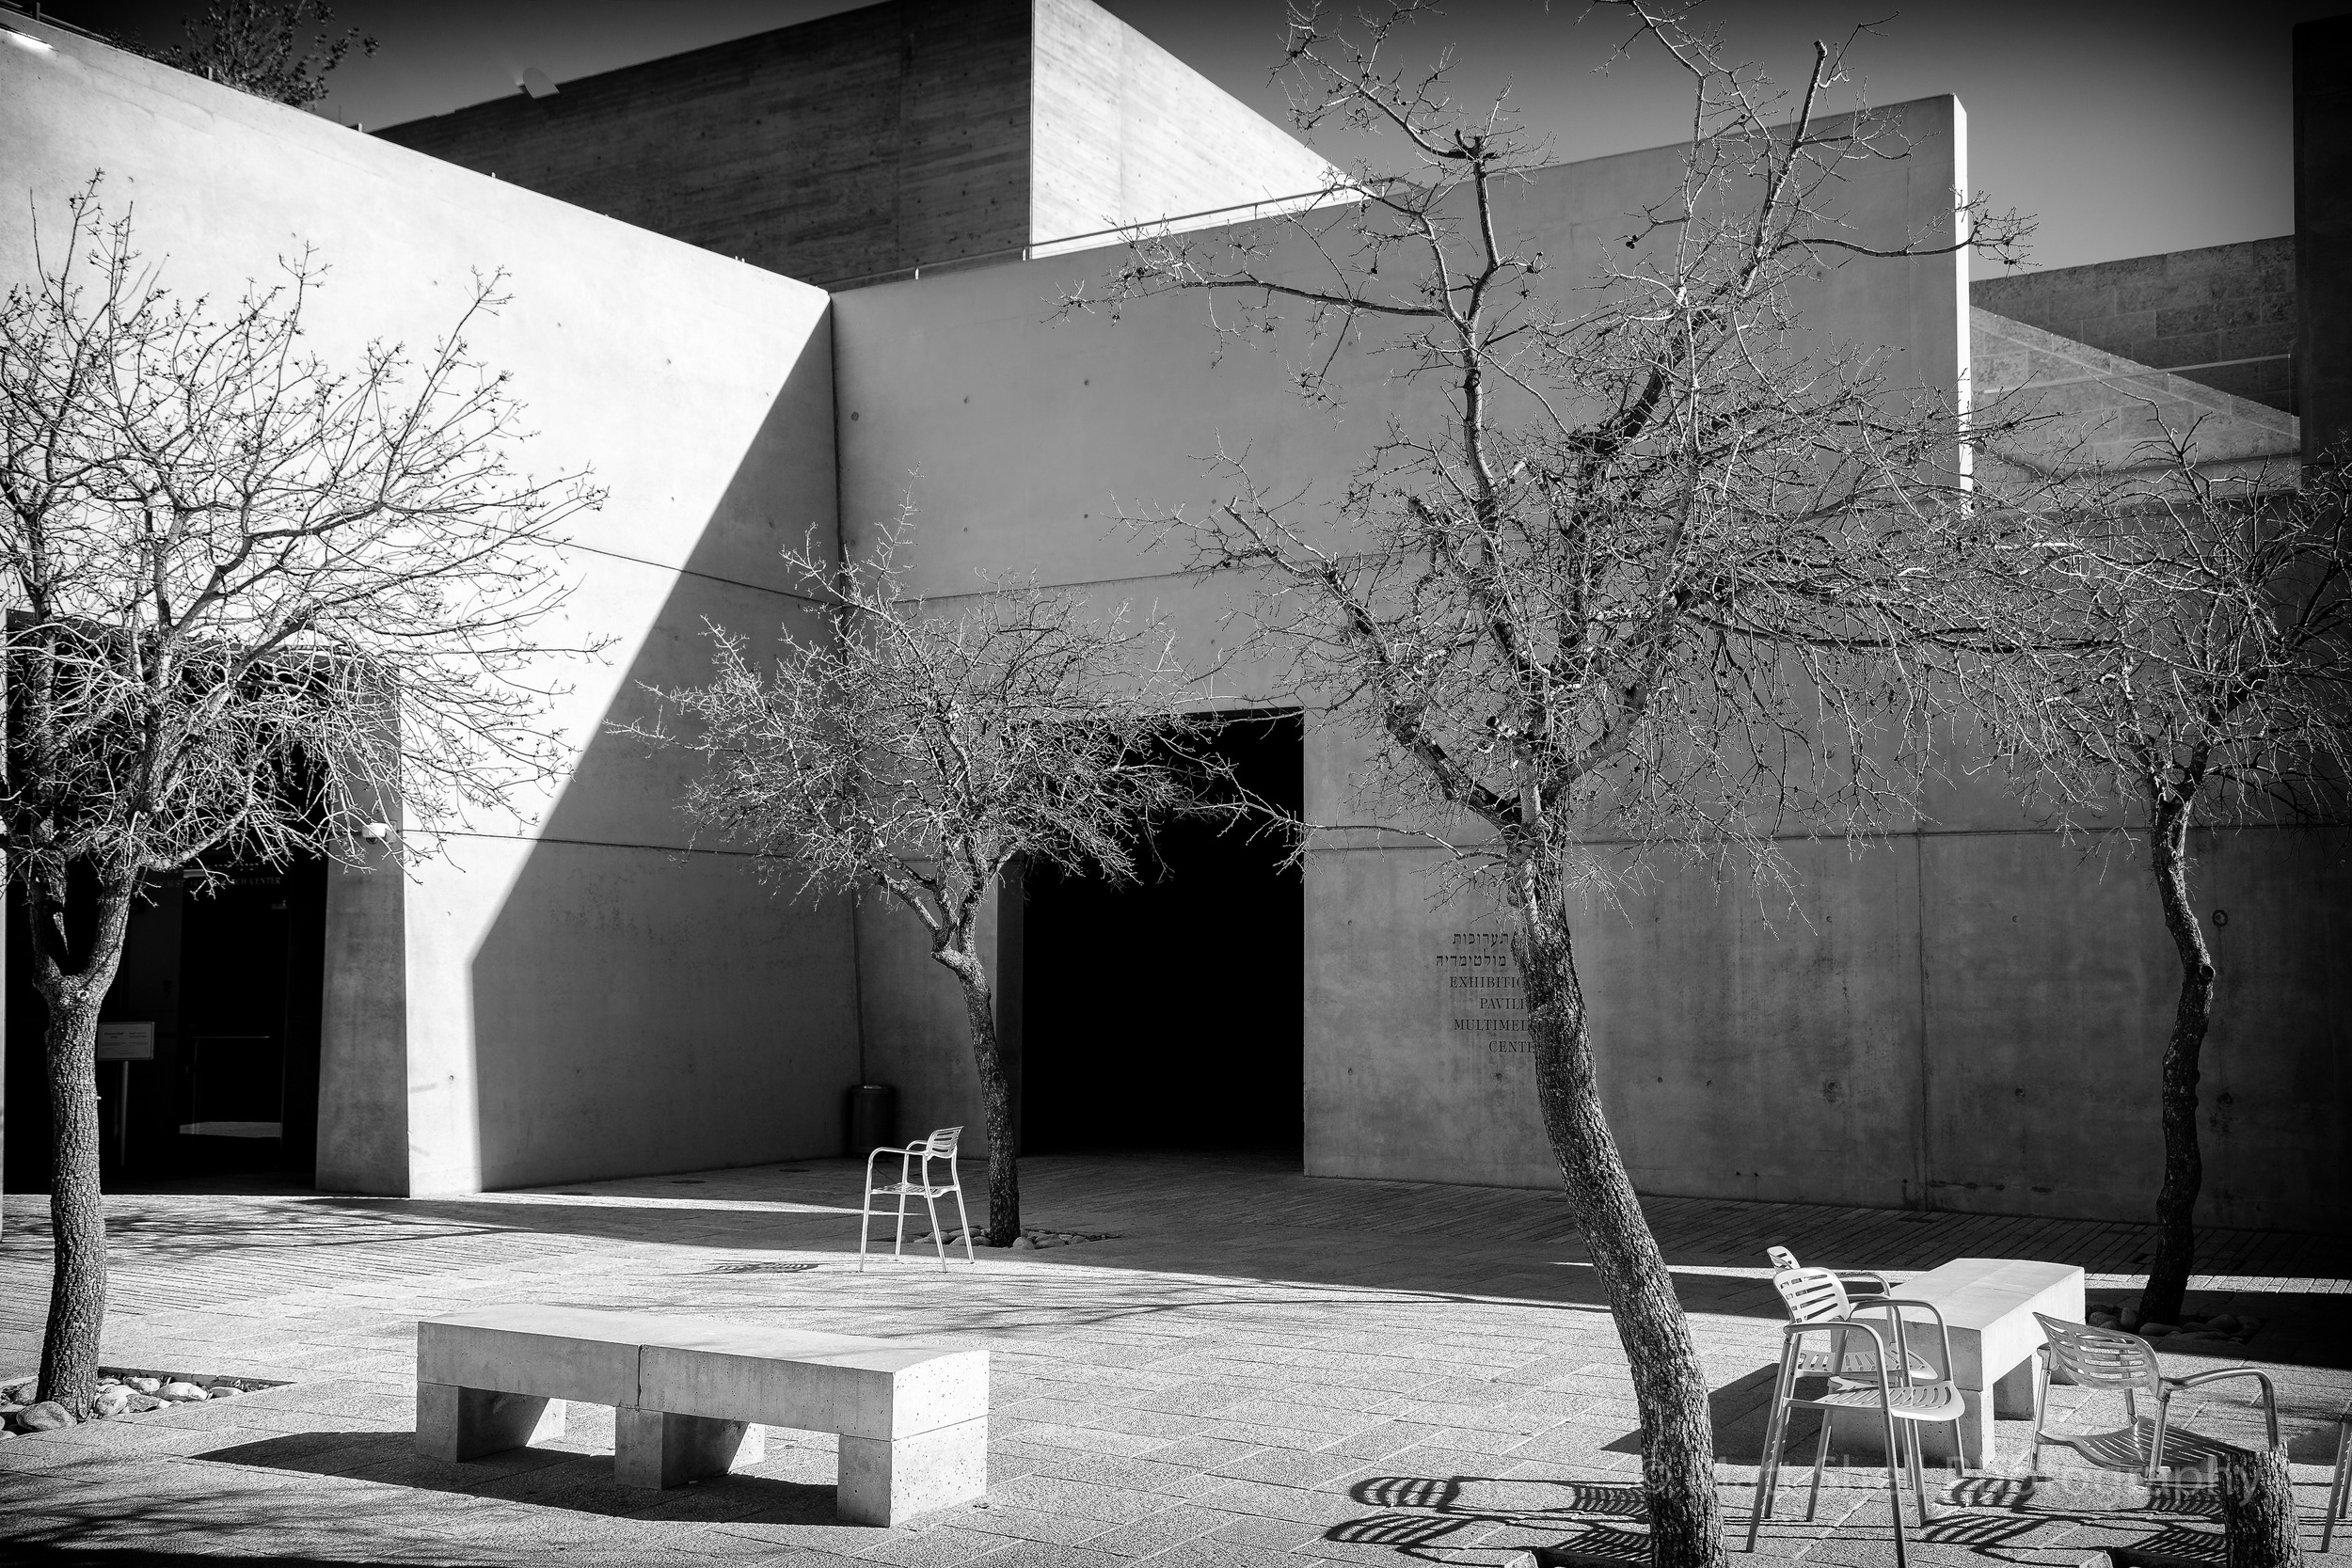
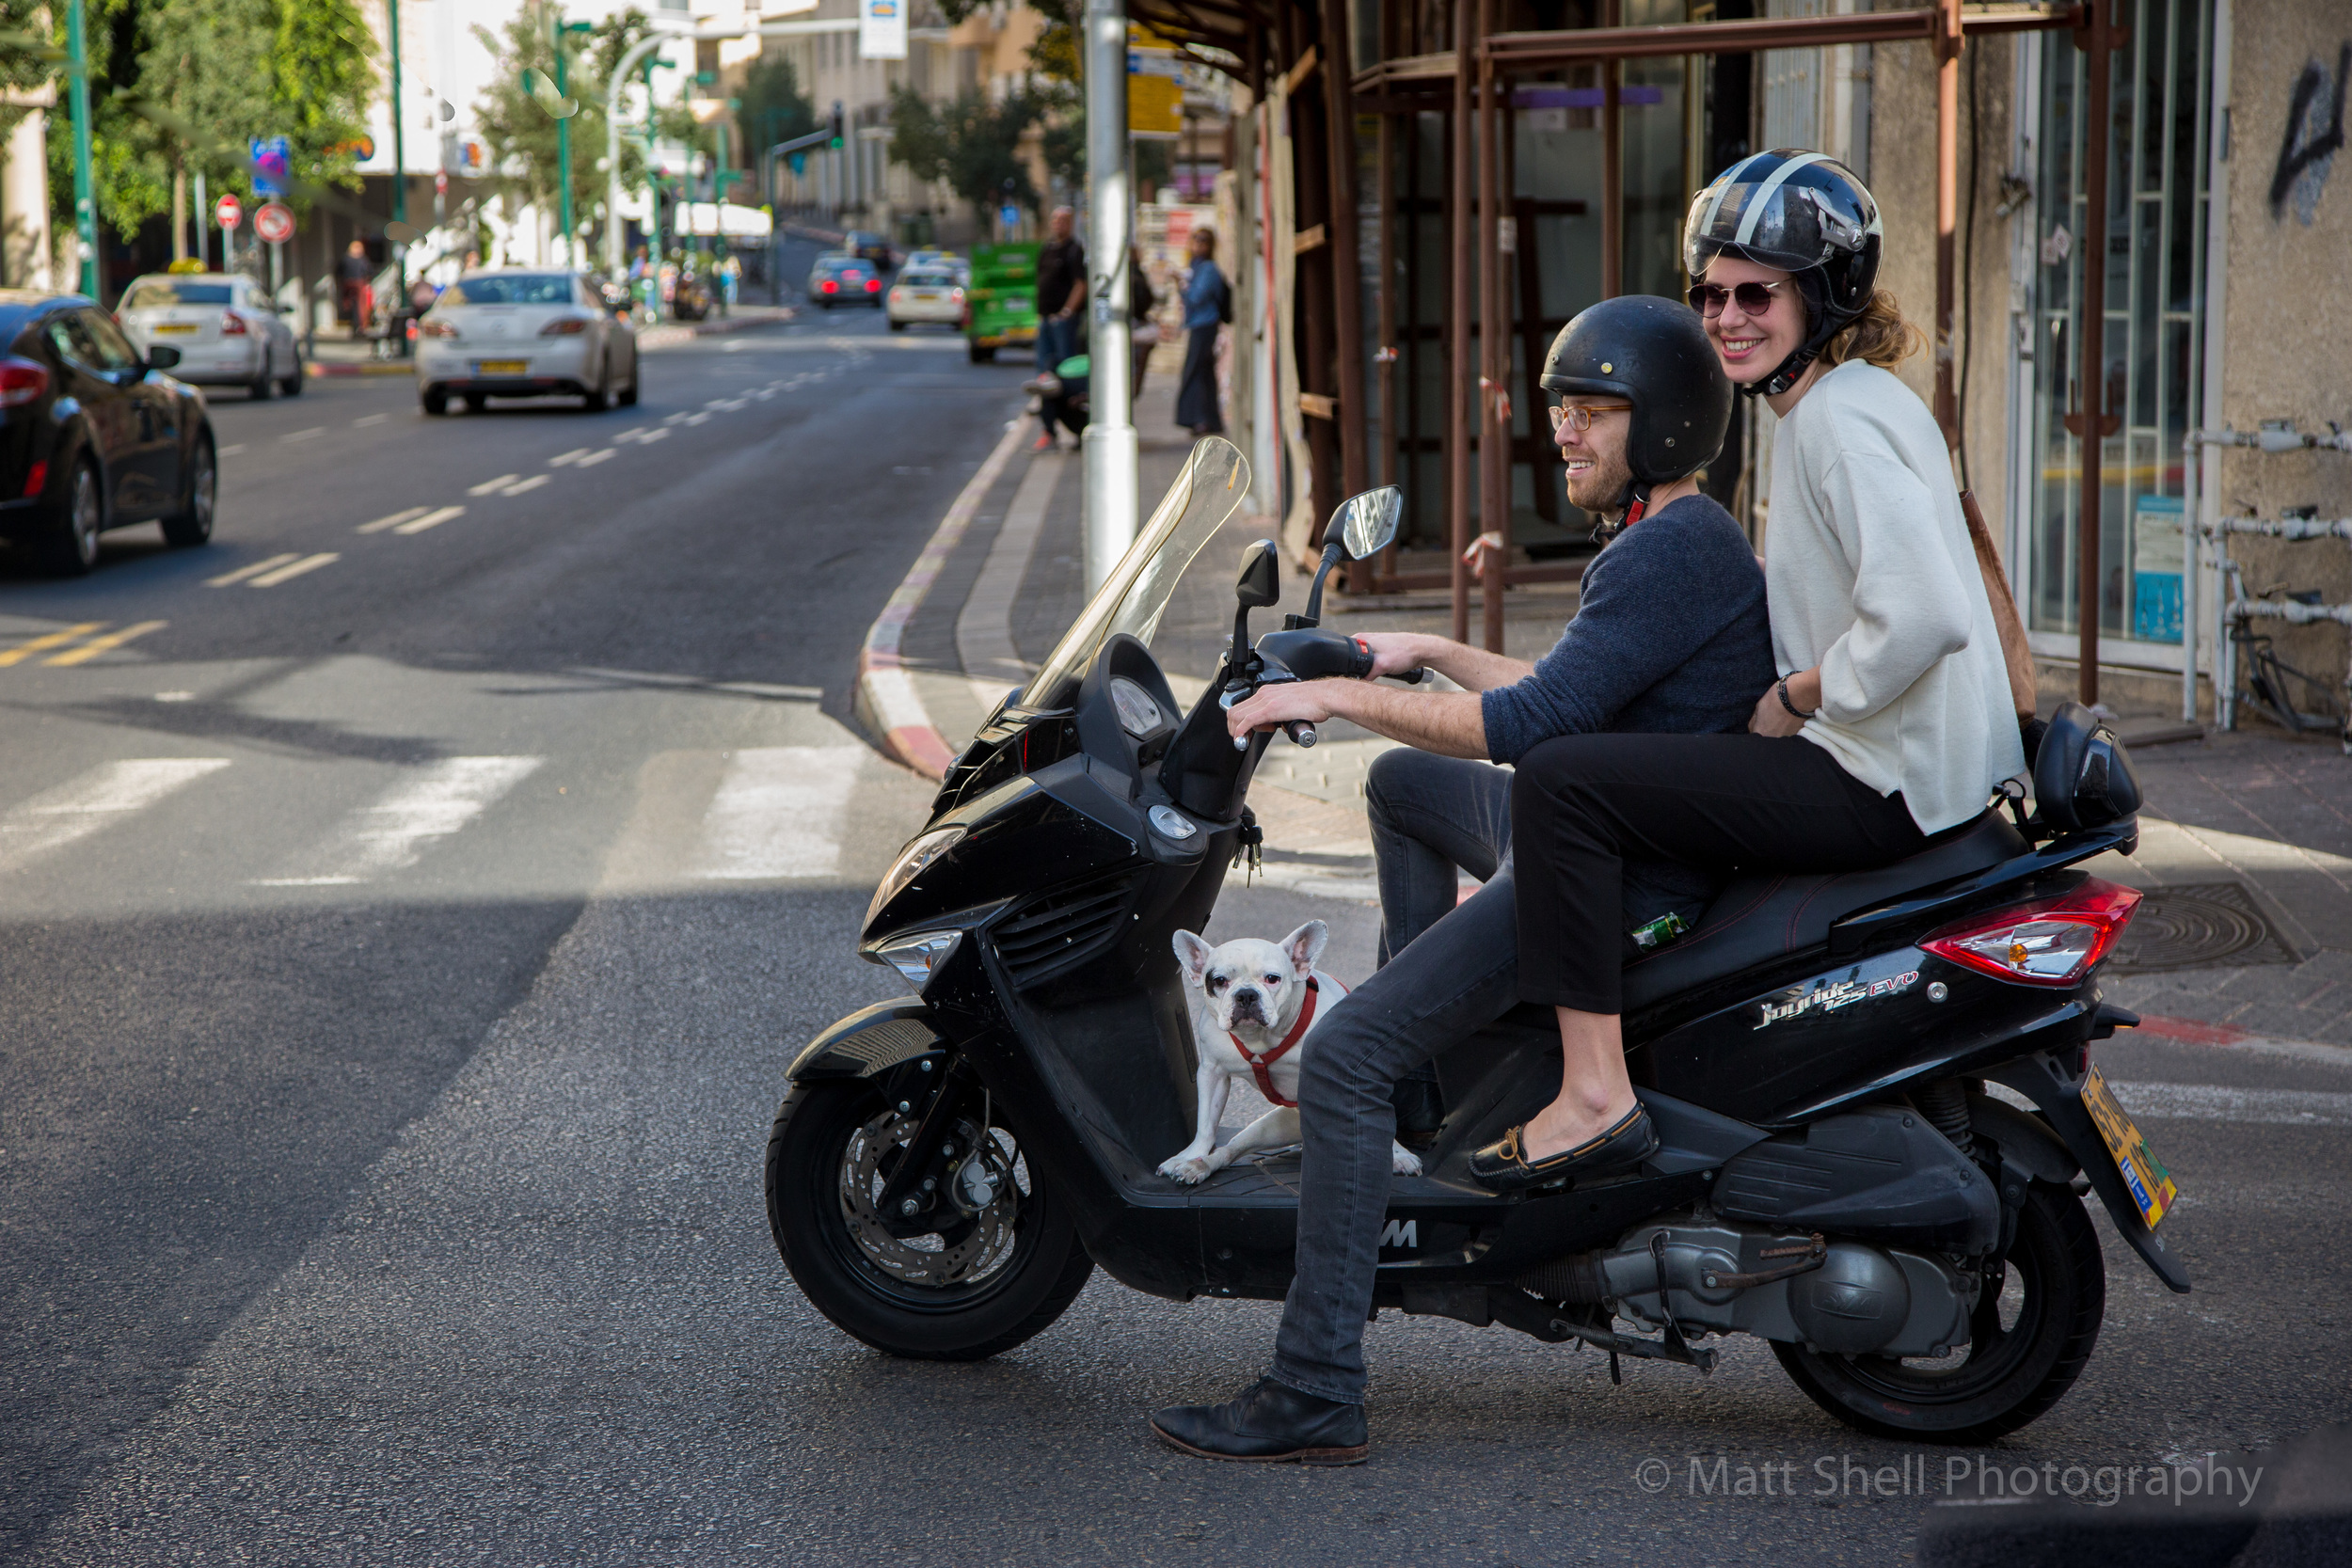
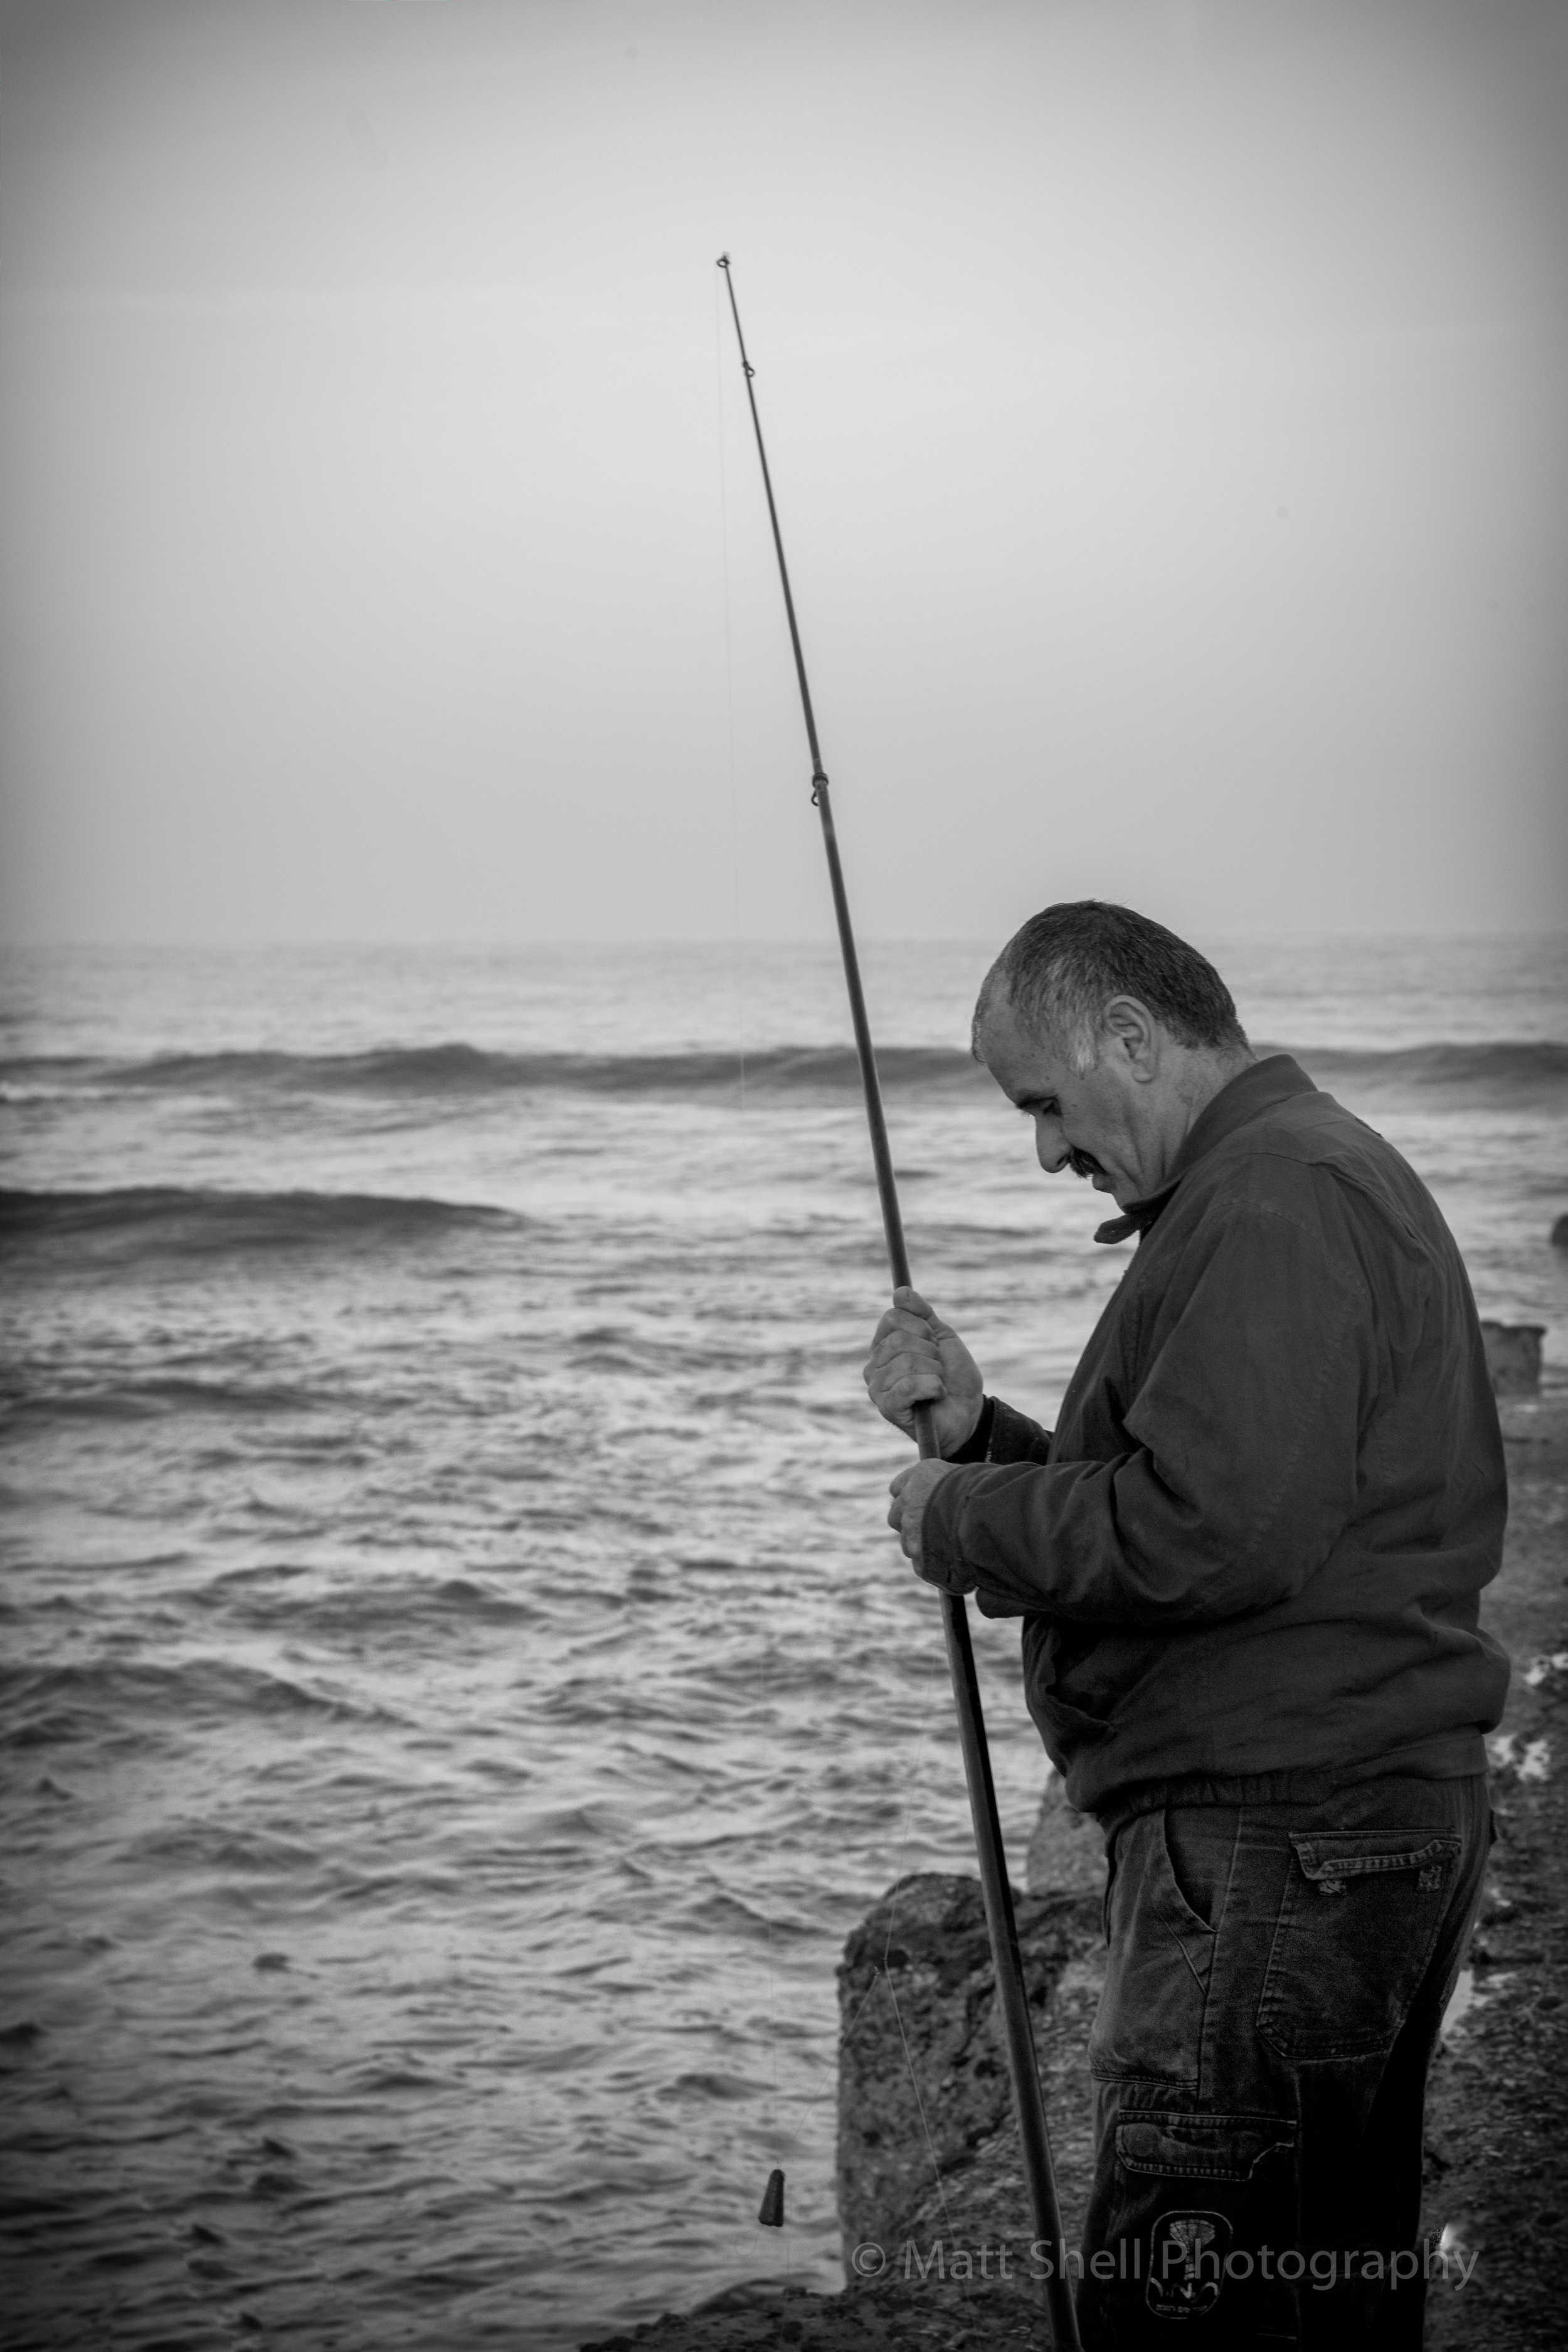
Hi all.  Today's post is brought to you by the letter "M," the letter "T," and by the number 12.  Now that we've gotten that out of the way, let's look at some pictures.  It took a little over a week, but I've finally gone through all my photos from Israel, got rid of the ones I didn't want to keep and post processed all the keepers.  Just to give you an idea about what that process was like, I came home with around 1,000 photos.  Now I did a lot of culling while I was on vacation, so in total I took a lot more than that, but when I got home and downloaded the photos to the computer, there was about 1,000 of them.  So then I started going through them.  Keep... keep... toss... keep... toss... keep... well, you get the idea.  Bad composition... toss.  Too over exposed... toss.  The person in the photo was really ugly... toss.  I just didn't like it.. toss.  I got down to the ones I thought I wanted to keep and share and that number was about 550.  Now this includes a  bunch of photos that aren't going to be interesting to anybody other than my family.  You know, family photo in front of the hotel, family photo in front of a restaurant, family photo at the beach, etc.  They're not the best photos, but you've got to keep them cause my mom... uh, I mean, somebody in the family may want to print those and put them in a drawer never to be seen again.  So of the 550 keepers, there are probably about 50 or so like that.  The rest I really like and want to look their best, so those were the ones I processed.  That took me a little over a week, but I'm really happy with the results.  So now the question was what to share on the blog.  All of them?  None of them?  Some of them... but which ones?  Well, Israel is really beautiful and has some really nice landscapes and some beautiful architecture, but it's still the Middle East, so the landscapes start looking really similar after a few pictures.  I mean, you're not going from beautiful beaches to lush forests to canyons with flowing rivers... it's a desert people!  And although there is a lot of really cool architecture, let's be honest... you've seen one three thousand year old wall you've seen them all.  Okay, not really, but I didn't want to post a bunch of pictures of old walls.  The thing that really makes Israel special is the people.  They're some of the friendliest people I've encountered on a vacation (just ask the guy who walked me back to my hotel after I found myself lost and wondering the city by myself), so I thought I'd post some pics from ground level.  Up close shots of the people, foods and things that I thought really represented the places I went.  All of these shots were taken with my Canon 5D and most of these were taken with the 24-105L lens.  I really love that lens for walking around a city.  It's really versatile and takes great, sharp photos.  Maybe I'll post some landscapes, architecture or beach shots next week, but for today this is what you get!  Most of the pics are from Jerusalem, Tel Aviv and areas around the Dead Sea.

I'm back!

Well, after a week in Israel and two missed blog postings, I'm back.  I'd say I missed you all, but I didn't really.  I love traveling and this was quite the traveling experience.  I went for my sister's wedding, but one of the benefits of a destination wedding is the ability to take photos... lots and lots of photos.  I took about four 16GB memory cards and I almost filled three of them with hundreds, if not thousands of photos.  I've been back for almost a week and since then I've culled them down to about 600 keepers.  I feel like some of those are really great and some will only be great to my family, but I had a great time and really loved bonding with my camera.  It was an amazing place and over the next week or so, I'll be sharing tons of the photos from my trip.  In the meantime, I thought I'd share one to wet your appetite.  Let me set the stage for you. I was in Tel Aviv for the second half of my trip and I decided, without any knowledge of where I was going, to try and get up for sunrise and head over to the Mediterranean to take some photos.  So I set my alarm and got directions for how to go down to the water.  It was about a 20 minute walk and it went off without a hitch.  However once I got there, I realized that there wasn't anything but empty beach around.  I could see the old city far beyond and the sky scrapers of the new city as I looked in the opposite direction, but where I was, there wasn't a lot.  It just goes to show you that when you're in a new place, it really benefits you to do a little research before heading off to take photos. After walking for a little bit and thinking that my morning was hopeless, I happened upon this old pier.  I was stoked and I knew with a long exposure, this had the potential of being a really cool shot.  There was a fisherman on the pier getting ready to fish for breakfast, but after I asked he graciously said he was happy to share the space with me.  The most interesting part of the experience wasn't getting to the sea, it was coming back.  I quickly realized that I had no idea where I had walked to or how to get back to my hotel.  The good news is everybody in Tel Aviv that I ran into was really nice and I felt very safe.  People were more than happy to try and point me in the right direction.  Having my camera with me actually saved me as I couldn't remember the address to my hotel.  The good news was I had taken a photo of the chocolate shop a few blocks down from where I was staying and that photo was still on my camera.  So, not speaking the language wasn't a problem... I could just point to the photo on the back of the camera and folks knew exactly where I was trying to go.  The fact that everybody I asked gave me DIFFERENT directions is besides the point... they meant well.  So that 20 minute walk I took to get me down to the water was over an hour and a half walk to get back!

Here's the photo I came home with:

This photo was taken right at sunrise.  It was a 30 second exposure which is why the water looks so silky and creamy.  Using a long exposure does the exact opposite of what using a fast shutter speed would do.  A fast shutter speed freezes all the action... that would mean the water and waves would freeze right where they were.  The long exposure blurs the area of the image with movement, so although the pier is really sharp (because it wasn't moving), the surrounding water that was flowing in and out is creamy smooth.

This is one photo with lots more to come.  Stay tuned.  I promise there will be at least one that you like and if not I'll give you your money back.


What's the affect of the effect for Efex?

I'm not going to be here on Saturday, when I normally post my blog updates, so I'm trying this one a day early.  I hope you're not too confused.  I'm about to head off to Israel for a week to take pictures!  Okay, I'm really going for a wedding, but secretly I'm most excited about taking photos.  I have no idea what to expect, but I'm sure I'll have lots to talk about here when I get back.  In the meantime, since I'm probably flying now as you read this, I thought I would mention one of the things I've been playing with this week.  Color Efex Pro by Nik Software.  I've been using Nik Silver Efex for quite some time for black and white photos.  There are tons of different way to process b&w photos, including Lightroom, Photoshop, programs from OnOne and Topaz and a ton others, but I have had the best luck and think I get the best results from Nik Silver Efex.  Anyway, that's how I found Nik Software.  Recently the company was bought by Google, so now they're the Nik Collection by Google.  The best part is that Nik has a bunch of different programs from Silver Efex to Color Efex to HDR Efex to even a program for just sharpening your photos.  Previously each program was between $99 and $199 each!  Now you can get the whole bundle... all of the programs for $149!  Yep, that's right, all 7 of the Nik products for $149.

Color Efex Pro is definitley one of the coolest of all the Nik Software products and the one I use the most after Silver Efex.  For black and white, Silver Efex is the only program I use but for color post processing there are a lot of choices.  Color Efex Pro is a breze to use and really gives the user the ability to get really cool results without a lot previous experience with the program.  Once you open your photo in it, up opens up a new dialog that is filled with 55 different filters efects.  The filters do SO many different things, that it would be silly to list them all out here, but you can do anyting from adding detail and fog effects to color, polorization and contrast effects.  There are so many different choices, you might not even recognize your photo when you're done with it! ;-)

Once you add a filter, a dialoge box will open to the right that will allow you to adjust and modify your filter.  If you have a need, you can add control points which will allow you to add or subtract the effect in specific areas of your photo.  Like the sunlight effect on the ground, but not on the bridge?  No problem.  Just use a control point to remove that affect from that area.  You can even stack muliple filters on top of each other.  Each effect on it's own has a million possible outcomes based on your sliders on the right, so imagine all the possibilities. 

Now if you're like me and too many choices can... well, scare the shit out of you into a paralized blob of photgraphic poo, don't worry.  It's easier than you think.  You need to go into a tool like this with an open mind, and freely surf around the options, and I think you will really come away impressed with some of the creative things that will happen to your images. Like anything else, the more you practice, the more you will understand the power of the program and the sooner you can take over the world!

So, do I use Color Efex on all of my photos?  No way.  I use it as a tool to enhance and differenciate from the norm.  Sometimes you look at a photo and you want it to be different, but you don't know how or why.  You need some creative inspiration and this is a great tool for that.  Take a look at the photos below.  I like this photo of the kid, taking a serious look at the garbage can he was attempting to jump over. However, the photo was just looking kinda blah to me... nothing special.  Since this was a skatebording shot, I wanted to add a unique feel to it and maybe add a little grungy look and higlight the details.  Well, with a few clicks you can see my results and I for one like the image much better.  It now stands out and I promise, looks different from all the other shots of these kids that was taken that morning.


Here is the photo with only normal post processing in Lightroom.

Here's the same photo processed with Nik Color Efex after regular processing in Lightroom.

Here's the same photo processed with Nik Color Efex after regular processing in Lightroom.