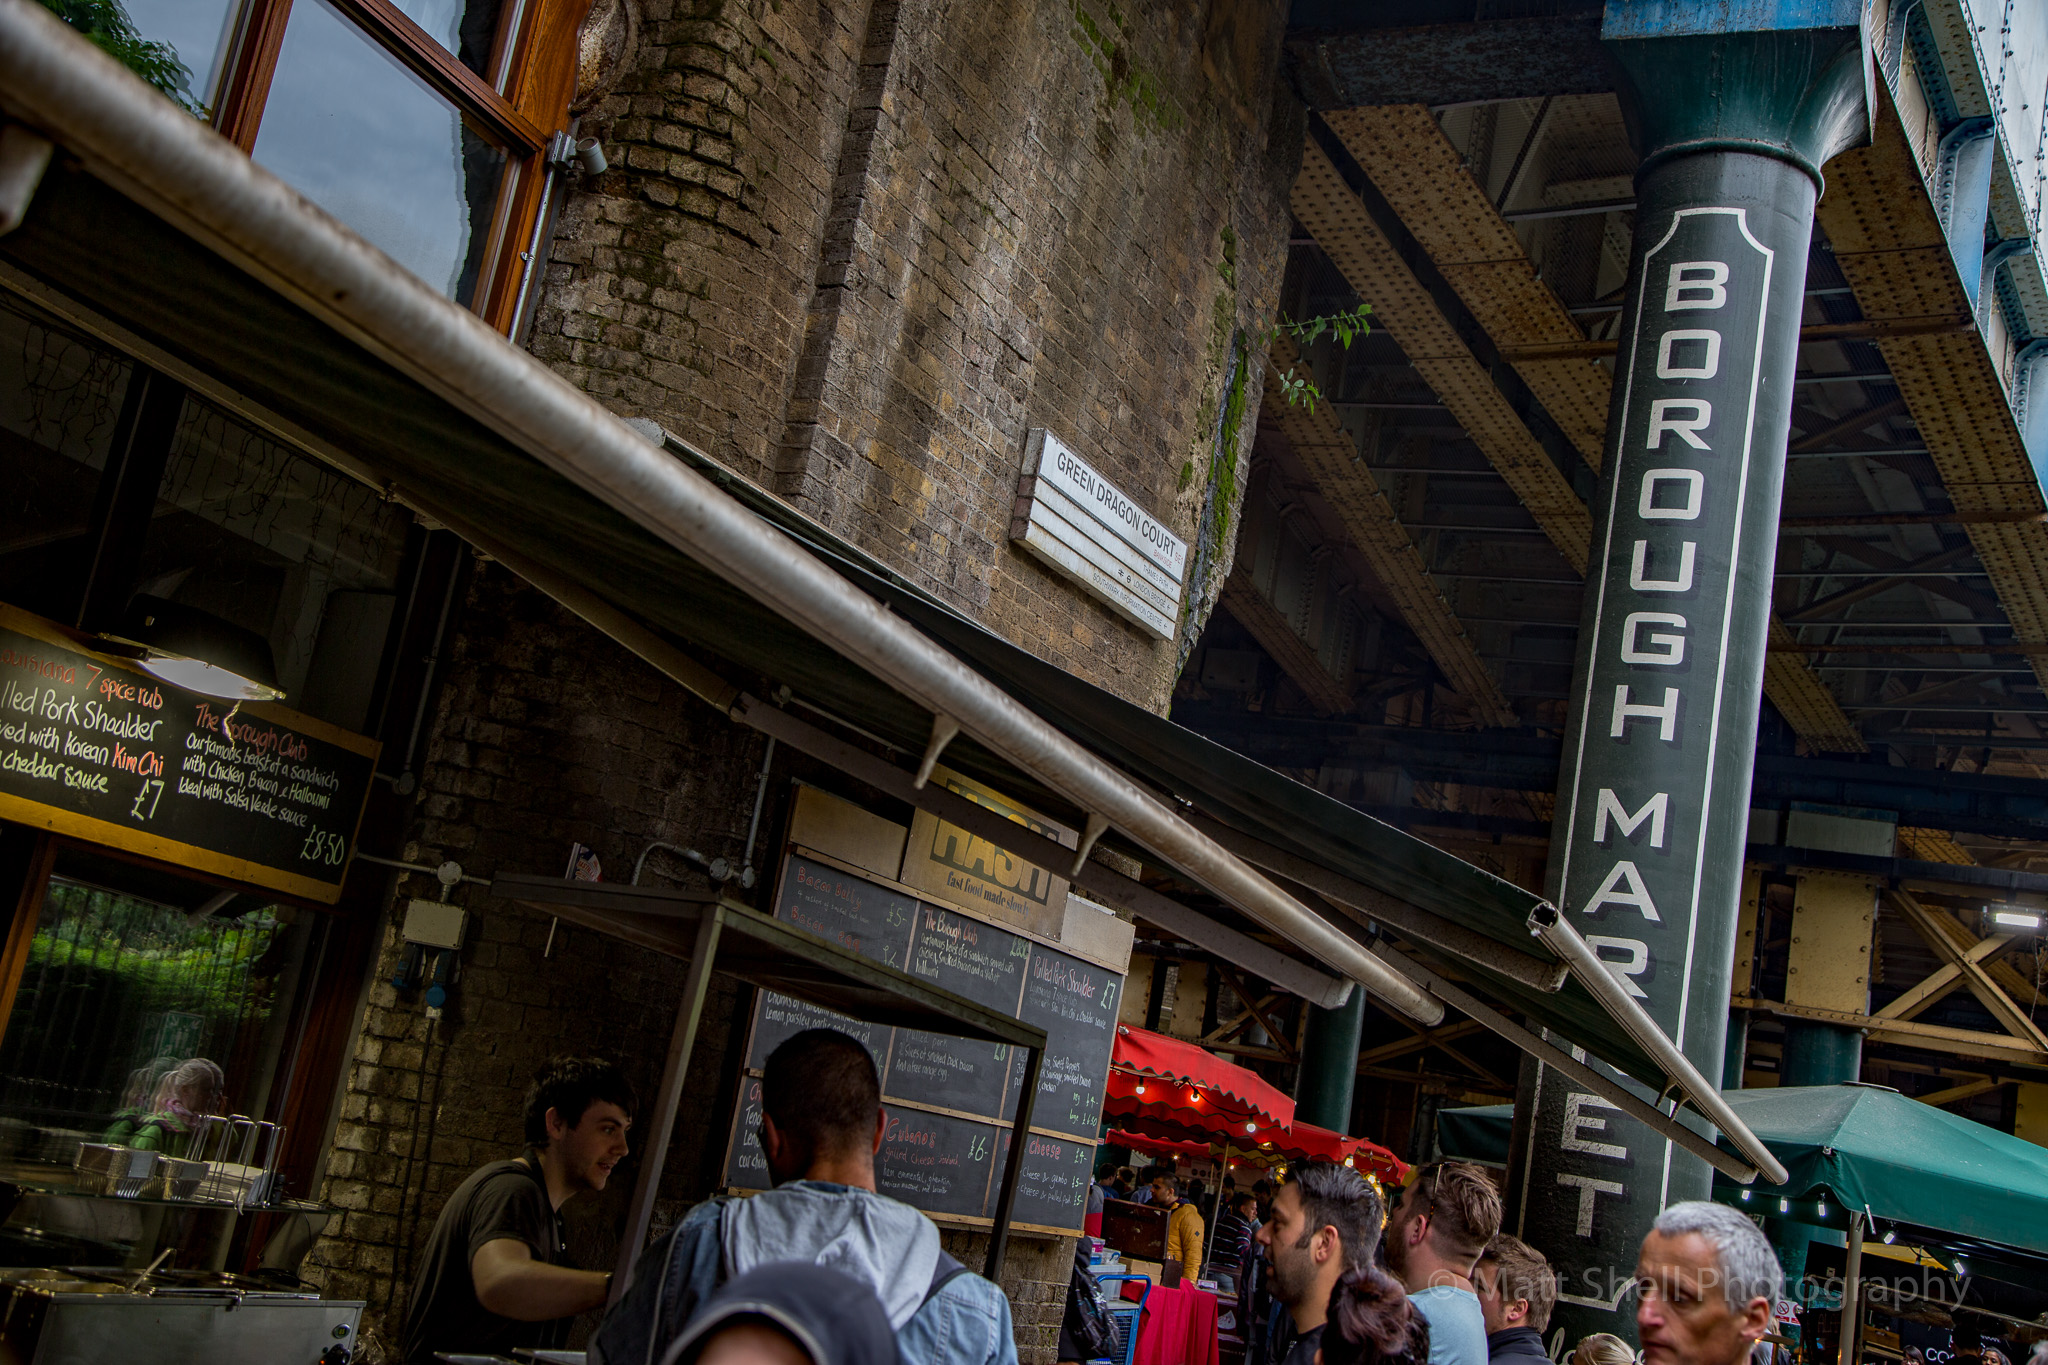
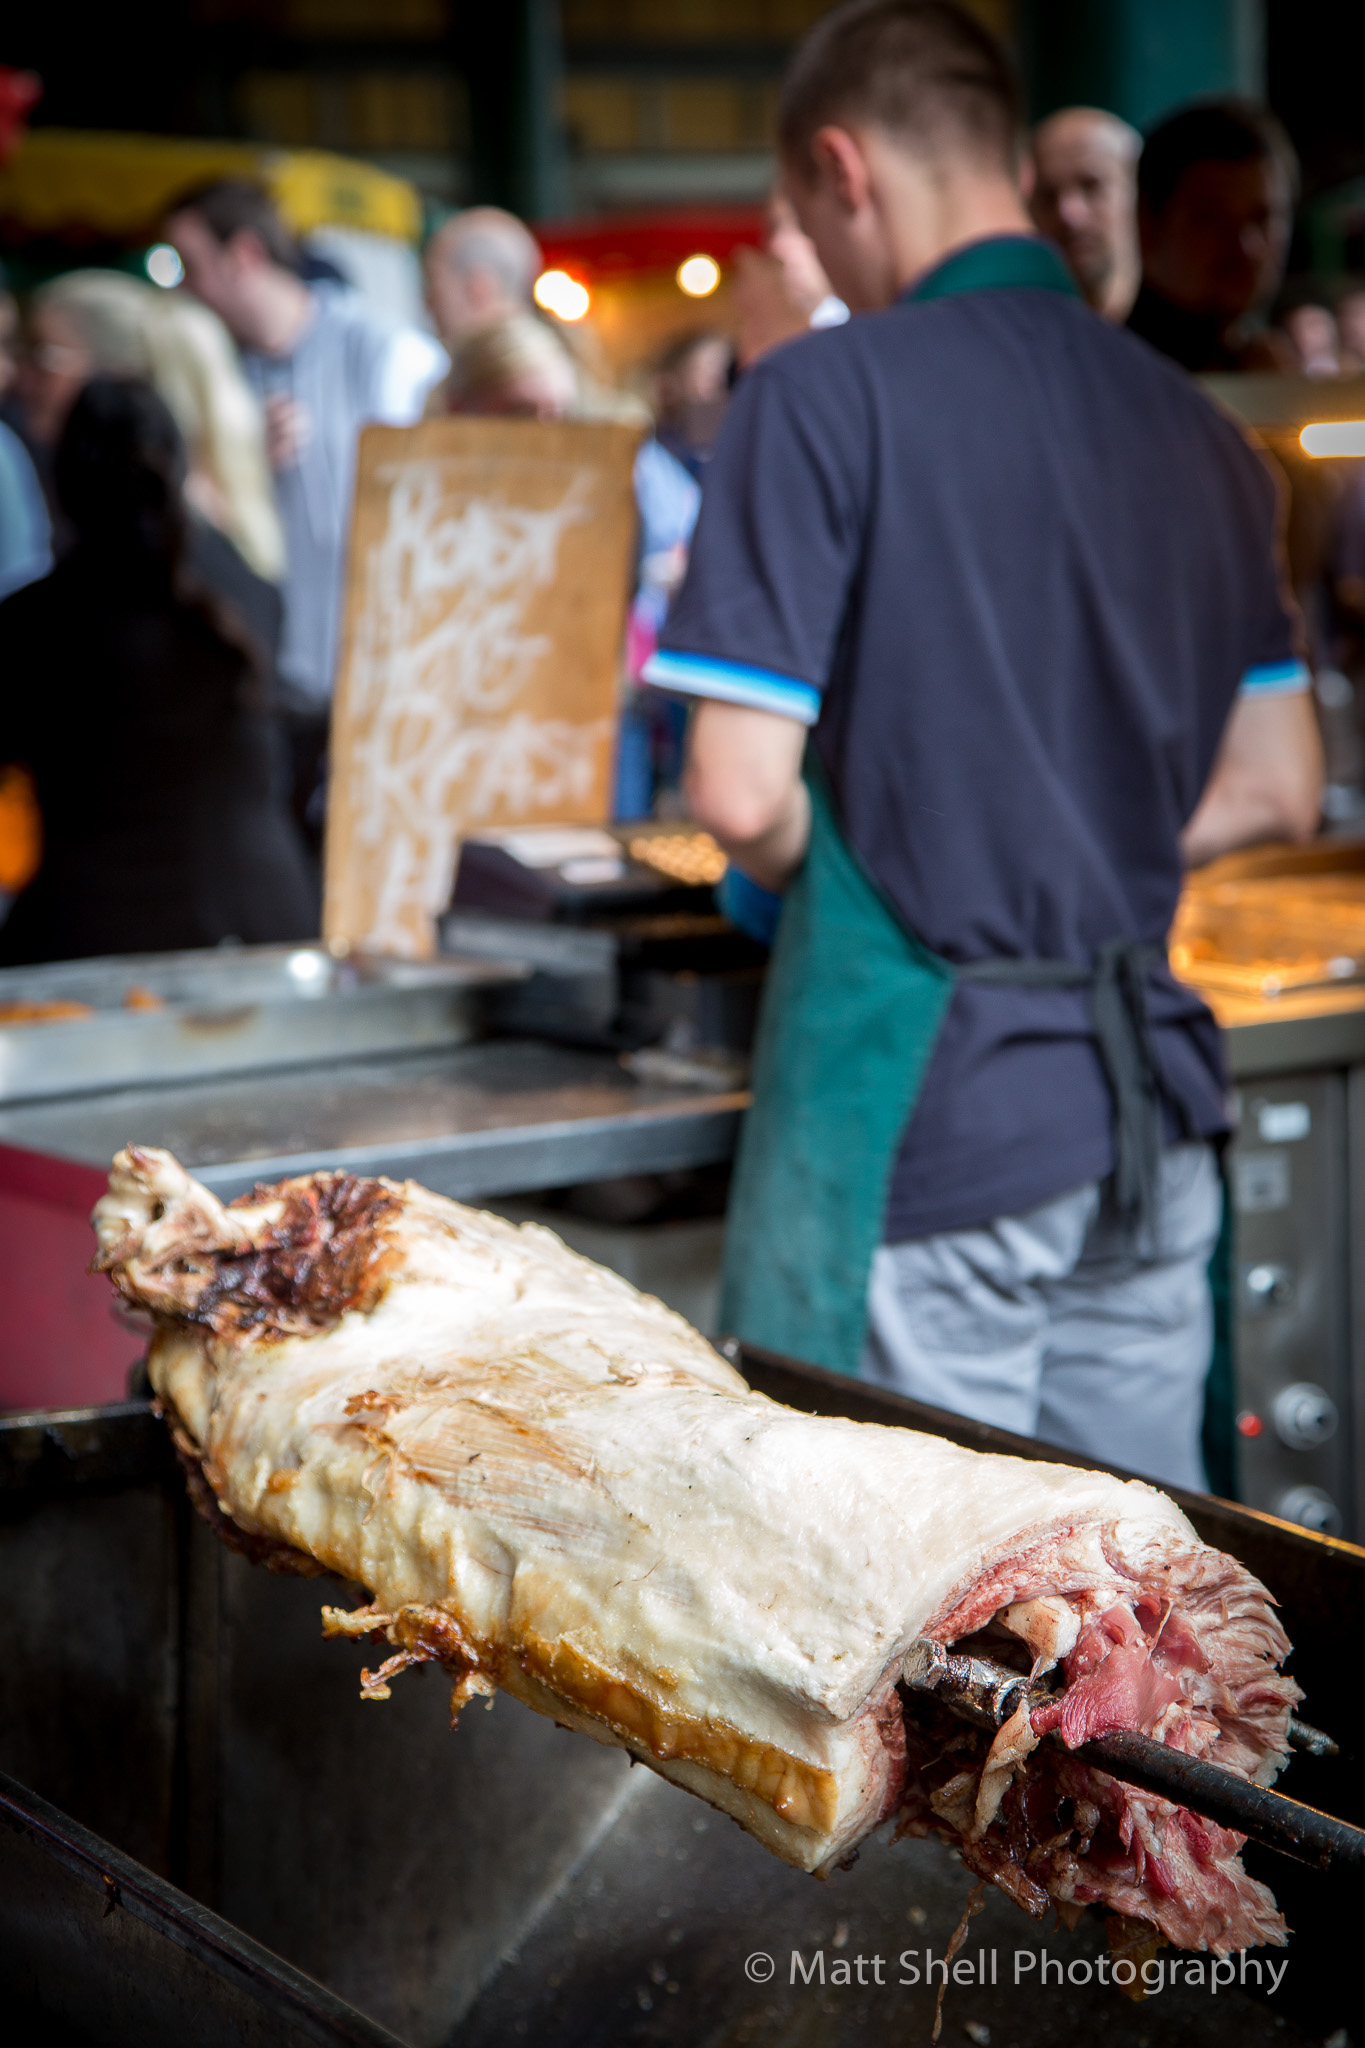
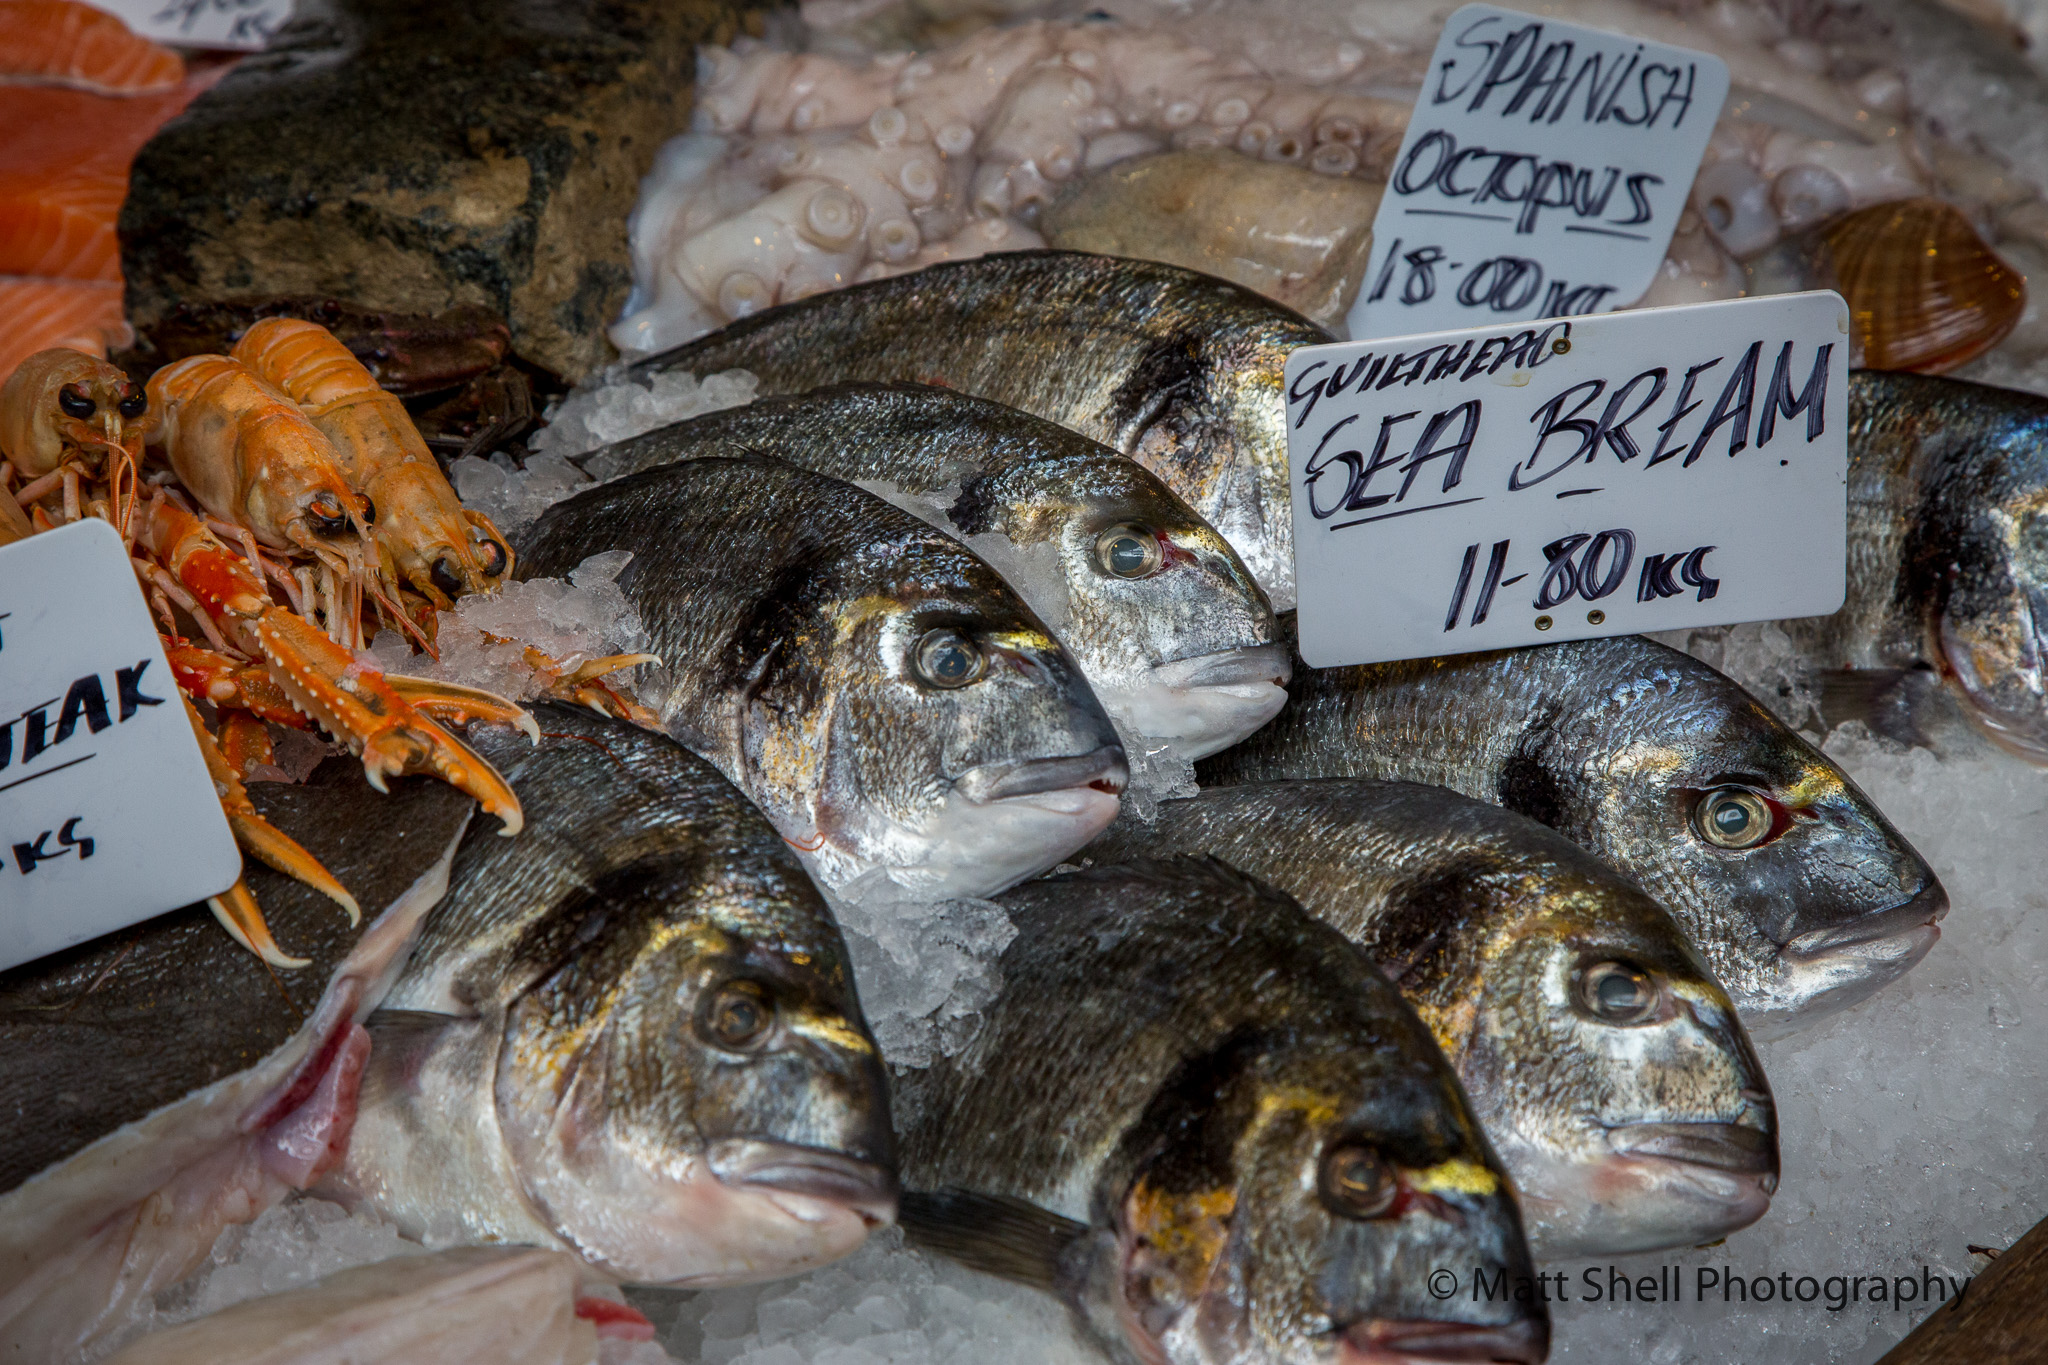
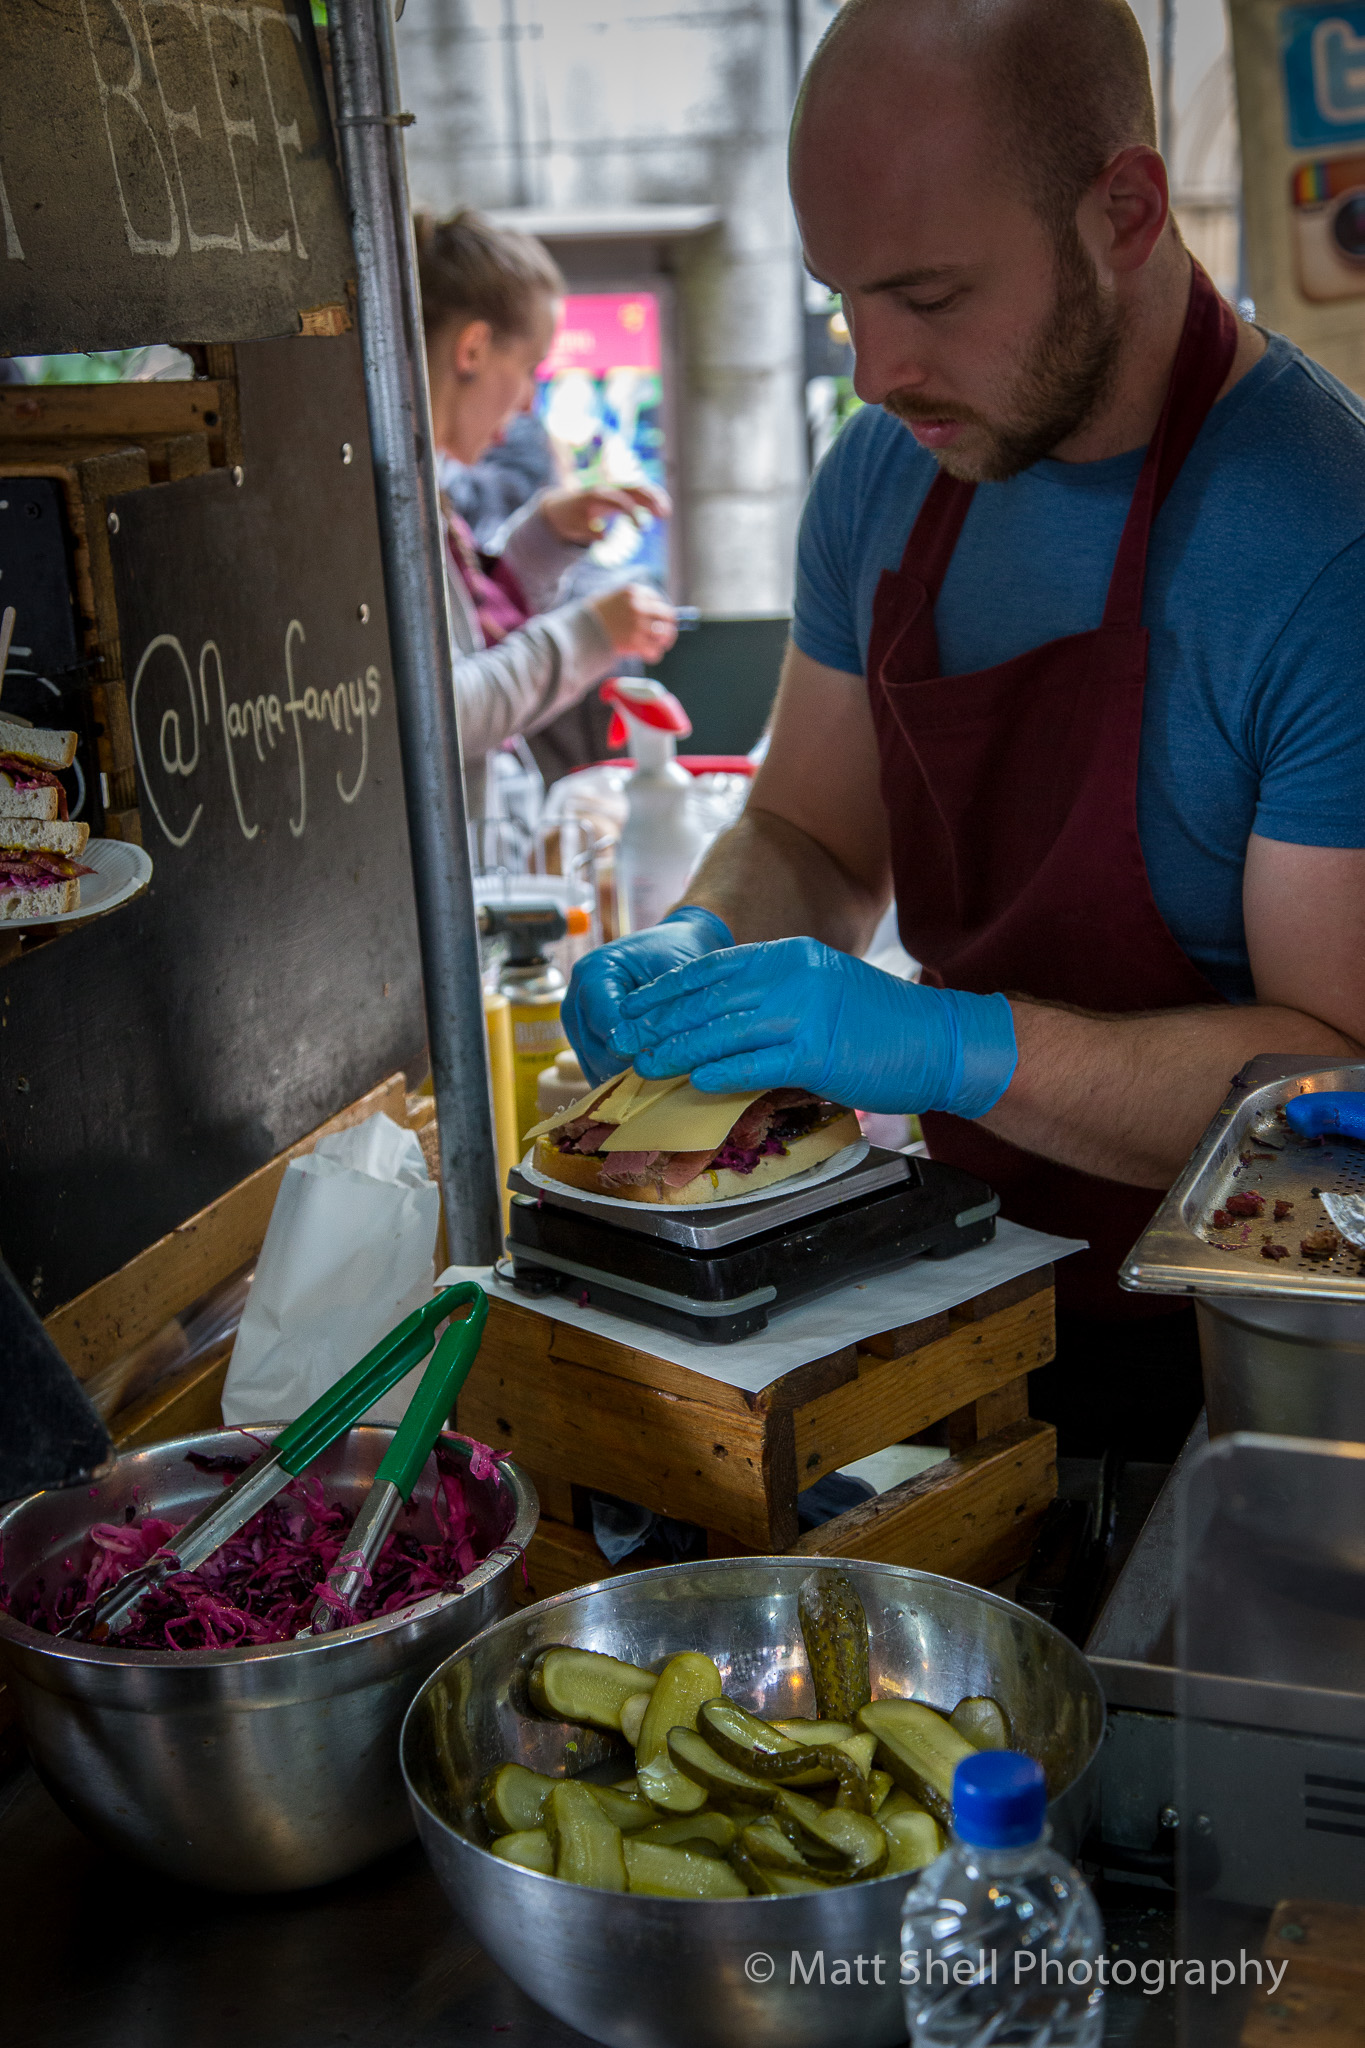
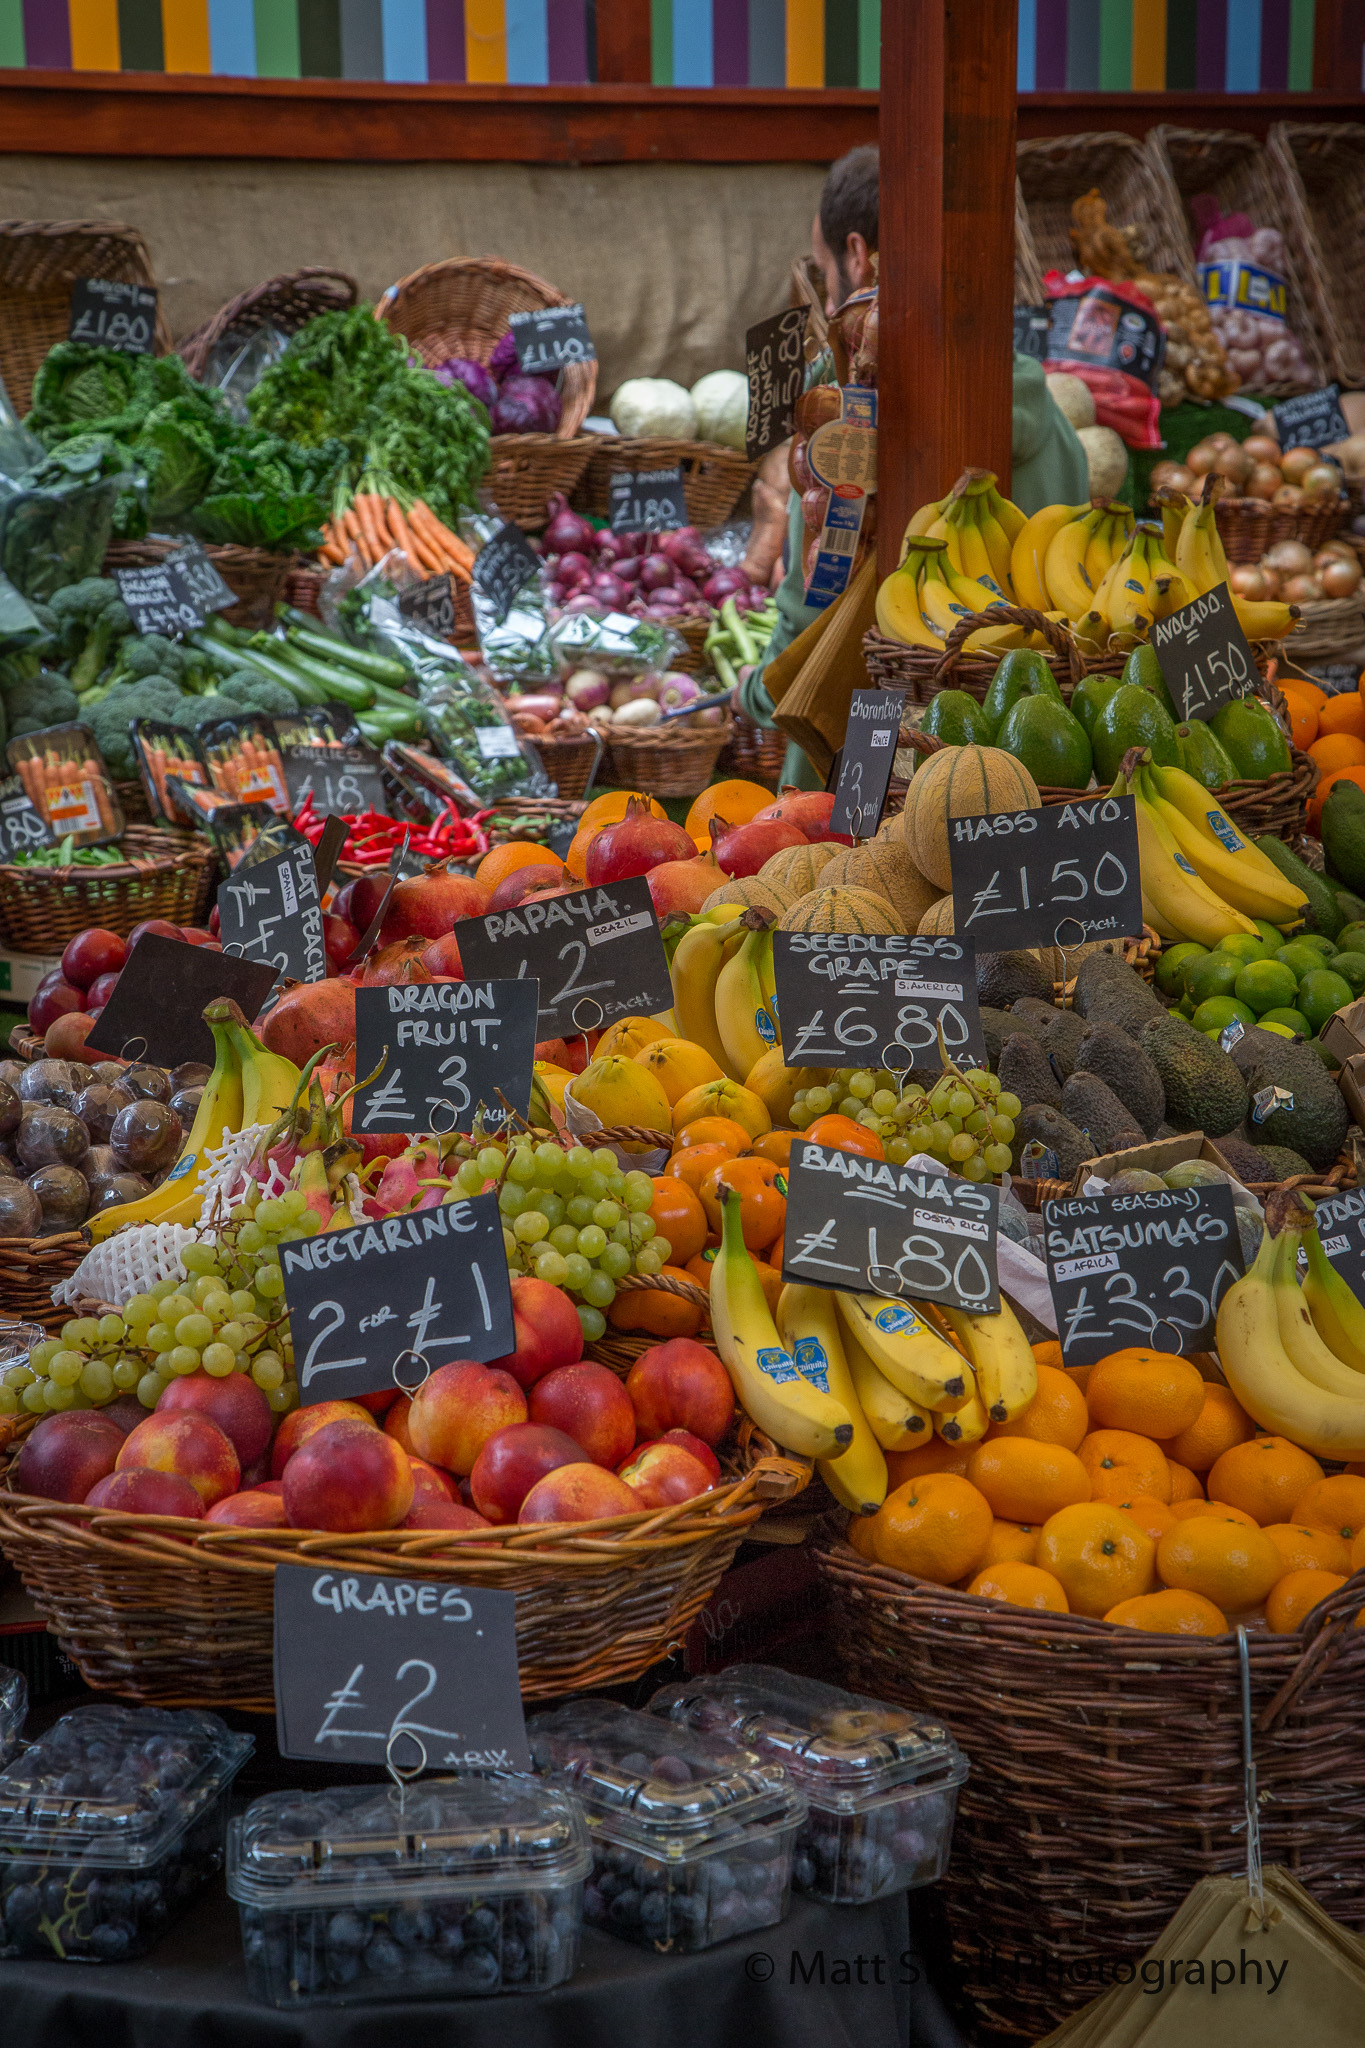
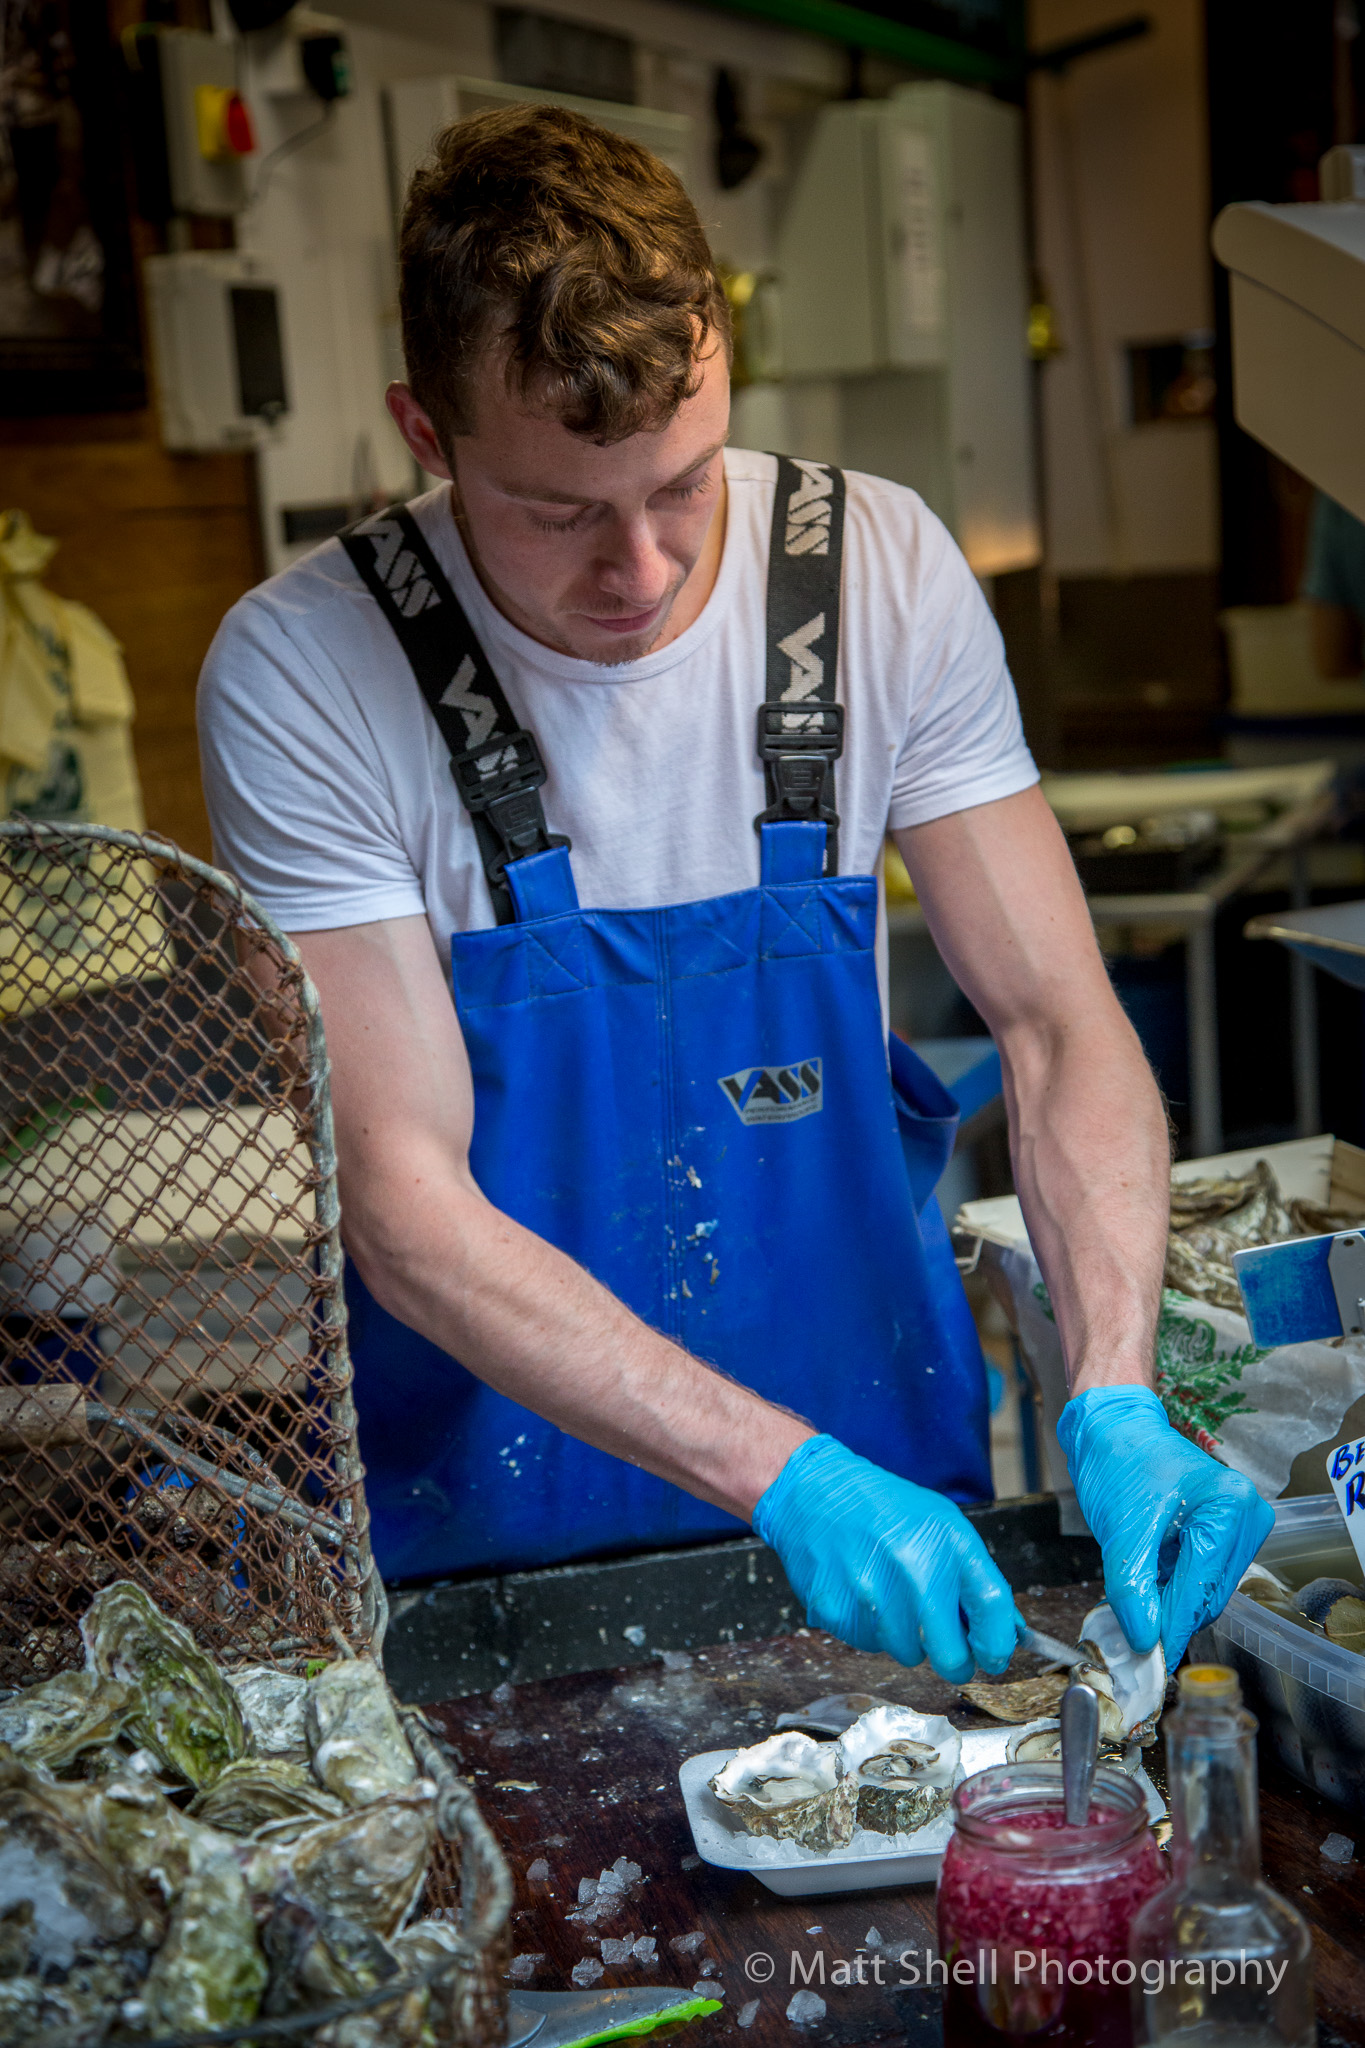
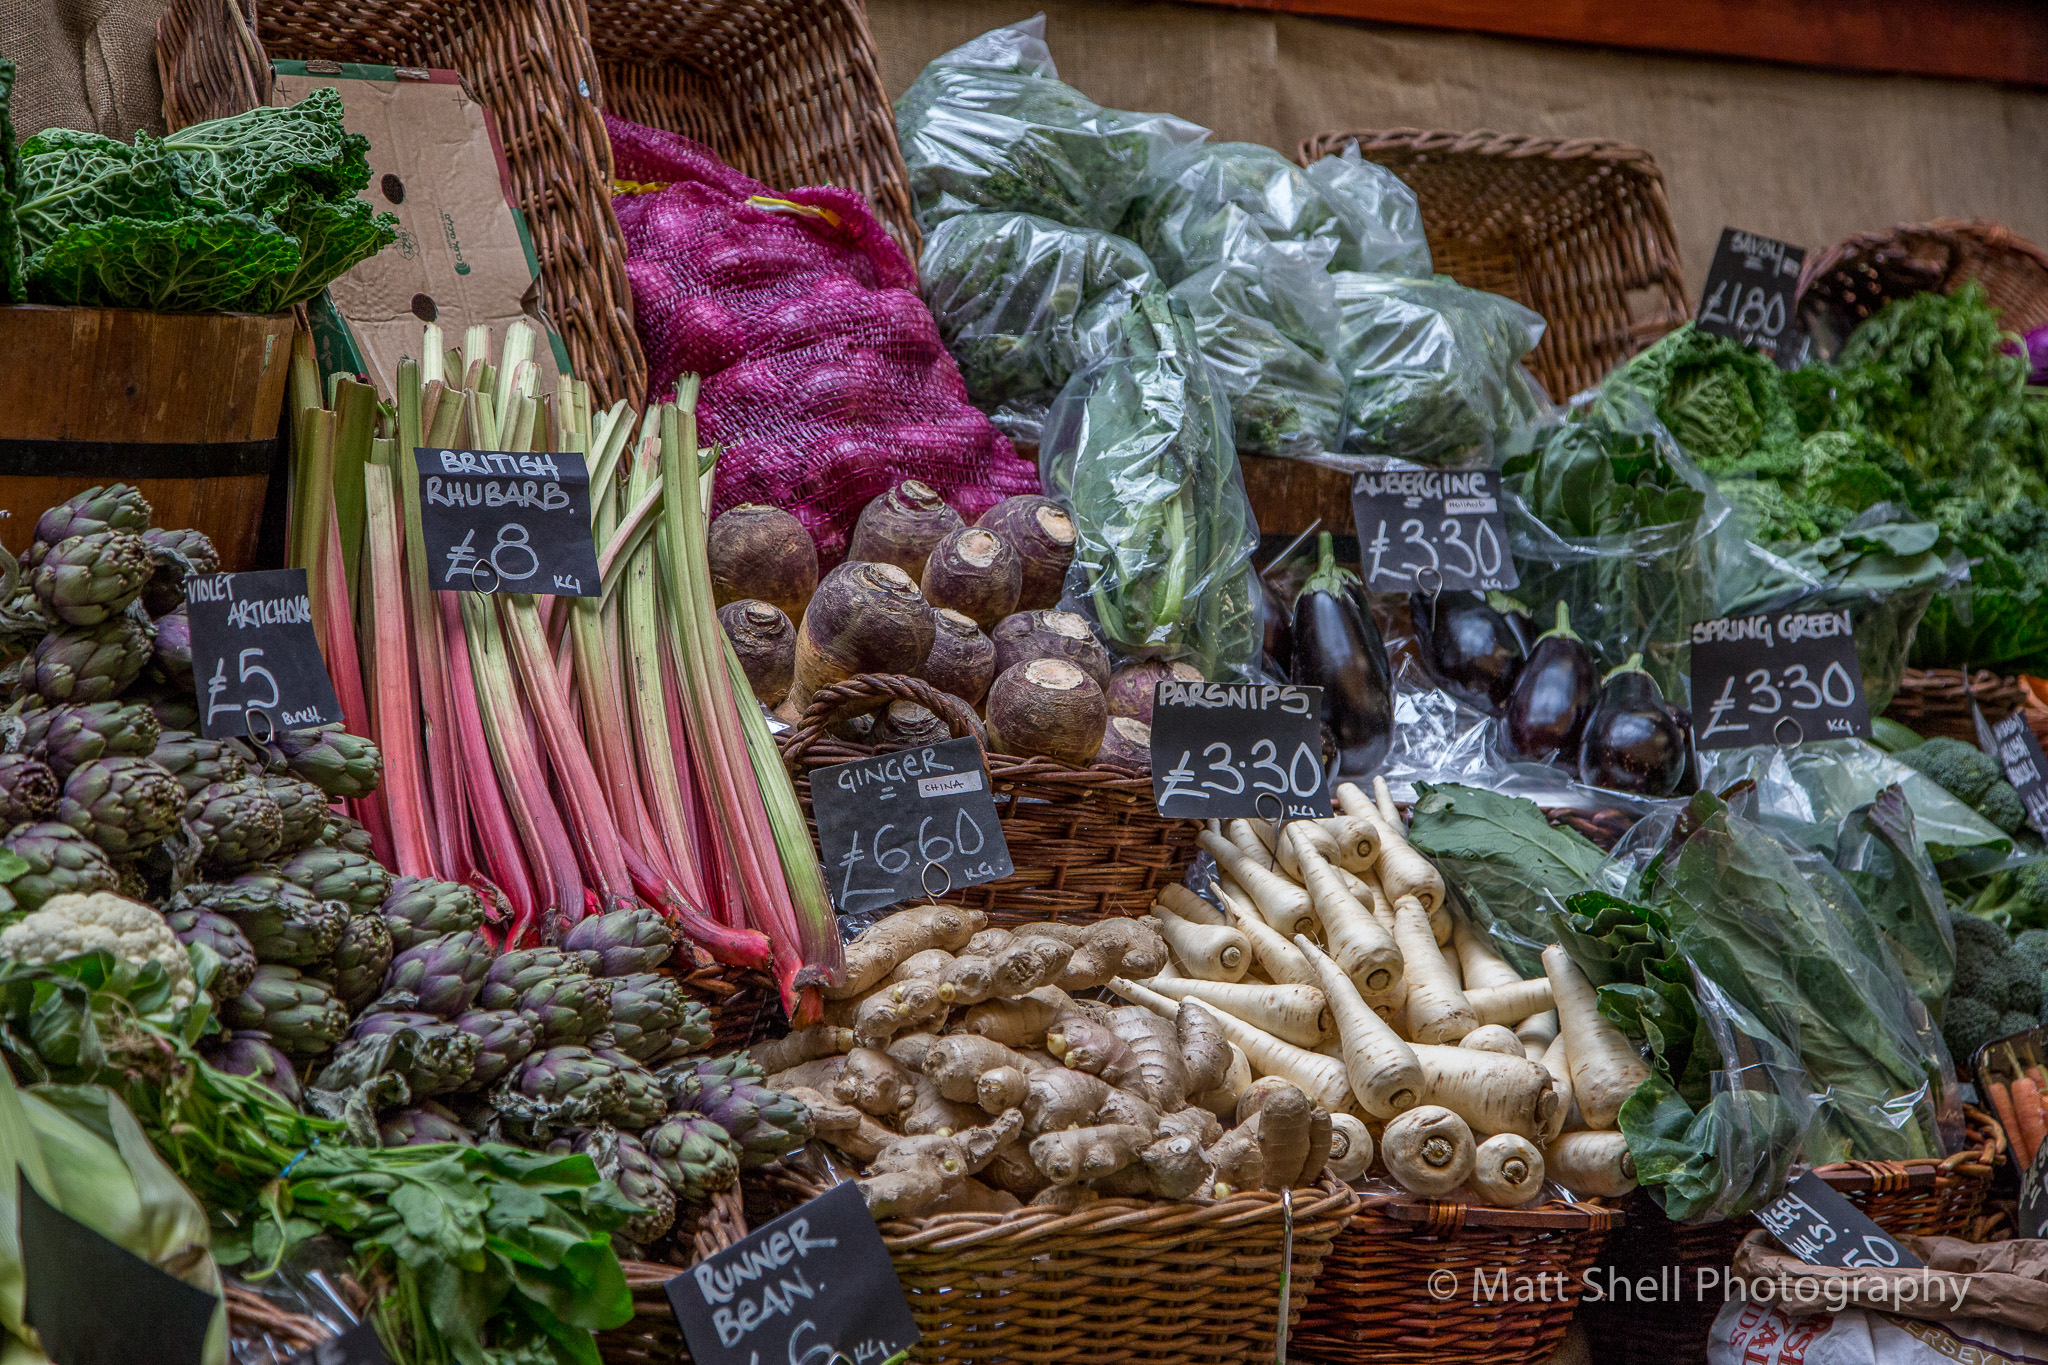
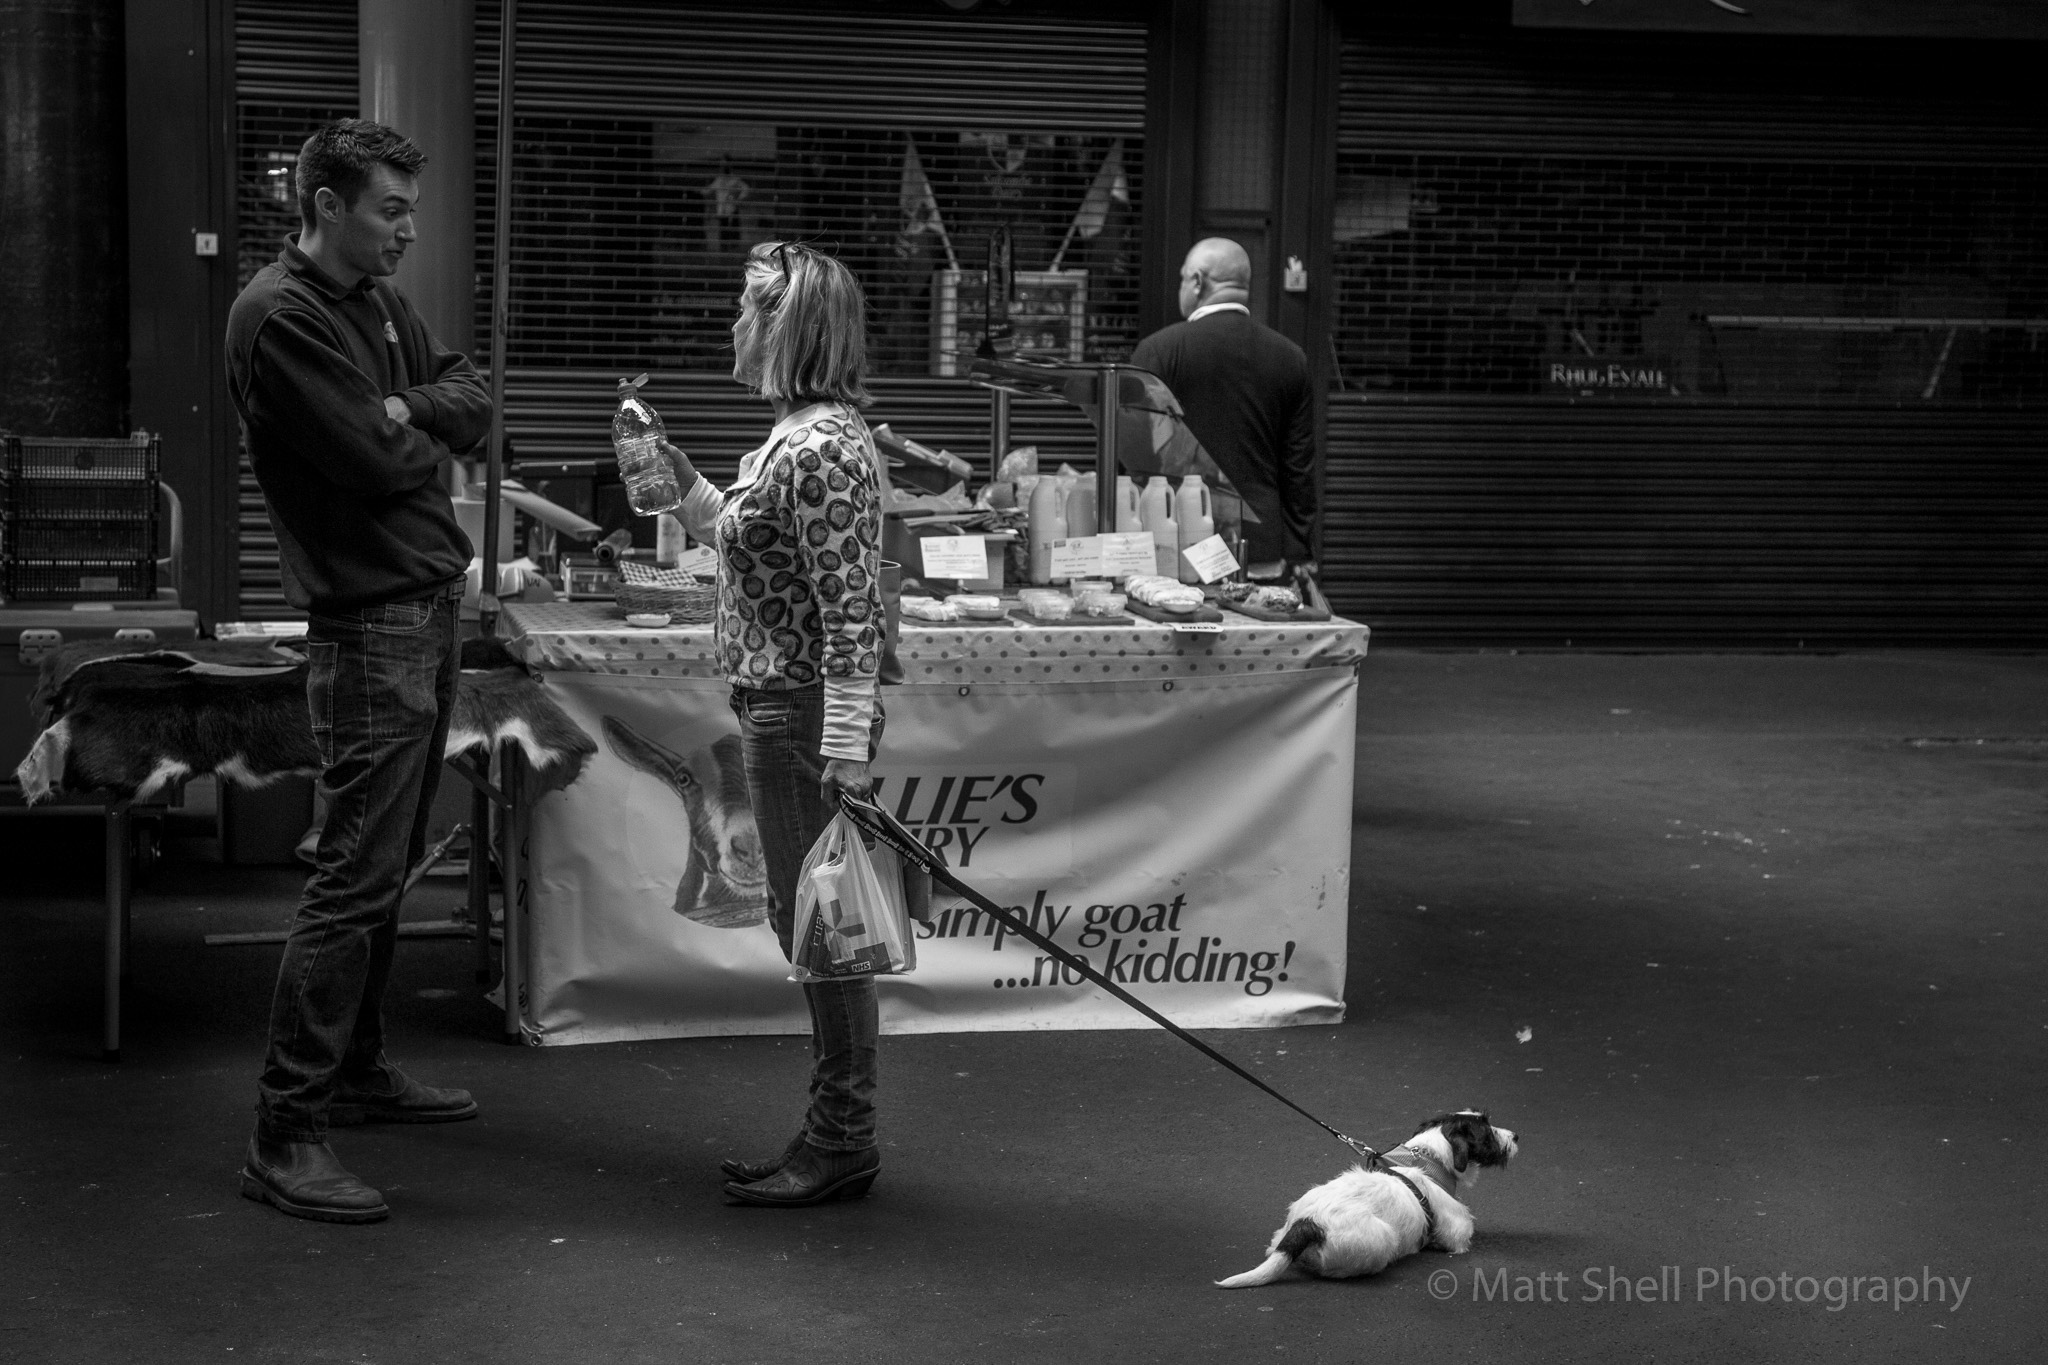
Today's England photos come courtesy of one of my favorite places in London. The Borough Market. The market is rich with history, but it remains as relevant now as it has ever been. As London’s oldest food market, it has been serving the people of Southwark for 1,000 years, and that extraordinary heritage is an important part of its appeal. Its precise start date is impossible to pin down: there was no official opening, no ribbon-cutting ceremony, not even a brief mention in a chronicle. The best date available, and the one used as the basis for the Market’s millennium celebration, is 1014. The present market is located on Southwark Street and Borough High Street just south of Southwark Cathedral on the southern end of London Bridge. This place is amazing, and a food lovers paradise. The present-day market mainly sells speciality foods to the general public. However, in the 20th century, it was essentially a wholesale market, selling produce in quantity to greengrocers. It was the main supplier, along with Covent Garden, of fruits and vegetables to retail greengrocers shops. It has dozens and dozens of stalls that sell everything from tomatoes to truffles, cheese to fresh breads, and every kind of meat or seafood you can imagine. It also has tons to booths selling freshly prepared food. So, if you want a salt beef sandwich or a plate of paella... this is the place to come. If you love food... this is a place not to be missed. The food is beautiful, the people are so nice and everything is delicious. How do I know? Because everybody will let you taste everything... and believe me... I did! If I had to pick a favorite, though, and I'm glad I don't... It would be the salt beef sandwiches. They're like a hot corned beef, but at the market, they're served with homemade pickles, pickled cabbage and top with cheese that they caramelize with a blow torch!! Seriously amazing!
Photography
A Walk Through the Park
Today's London photos come courtesy of my walk home through Hyde Park. I love this place and try to walk through it any time I'm town. It's like Central Park in New York, except everybody has cool accents. It's a beautiful place and like most typical London days, it started to rain during my trek. That didn't stop me, or the parrots from showing up.
The first picture is a shot through the trees of a fountain near the Marble Arch. The fountain had tons of people around it, so taking the shot through the trees allowed me to keep the tourists out of the shot and made for a nice frame. Shot at 1/500 sec at f/7.1, ISO 100.
The second shot is one of a number I got of the wild parrots that can be found in the park. Trust me, you'll know when you're close to finding them. They're not quiet. I saw a ton, but this guy seemed to want to have his picture taken, so this was a favorite. Shot at 1/320 sec at f/5.0, ISO 1600. I had to bump up the ISO in this shot cause the clouds were coming in and it was actually pretty dark under the tree canopy.
Finally, this shot of a bridge over the lake in Hyde Park. I'm sure it has a name I should know, but I don't... so don't ask. I processed this phone in Color Efex 4.0. I needed to process it cause there were a lot of blurry spots in this photo. Truth is, I actually got rain drops on my lens and took a bunch of photos without noticing. So a little color, a little blur, some contrast and wham-o bam-o, this is what I ended up liking. Shot at 15 sec on a tripod at f/22, ISO 100.
A Walk Up Primrose Hill
As you may have noticed, I added a few vacation days to a work trip to London earlier this month. Of course with some free days, I spent all most all of them taking photos and over the next few days I'll share some of my favorites here. Today's photos are the result of a early morning trip to Primrose Hill in the Primrose Hill District of London. The hill of 213 feet is located on the northern side of Regent's Park and offers a pretty stunning view of central London. Nowadays it is one of the most exclusive and expensive residential areas in London and is home to many prominent residents. I took the tube at sunrise to take photos as I heard that every photographer has to take picture on this hill. To be honest, it was a little underwhelming, but did offer a great view and it was a fun little trip on the tube and a bus to get there. The first shot is a pano made up of 8 individual photos all taken at 1/15 sec at f/18, ISO 100. It's easiest to shoot a pano on manual so your exposure remains constant for all the photos in the group. You don't want your exposure to change as you take the photos while you move around.
This is the view from standing at the top of the hill, facing central London across the river. If you look carefully toward the right of center, you can see the London Eye.
The second photos was unplanned, but has a pretty good story behind it. Remember, I was at Primrose Hill at about 6:00 in the morning. As I started hiking up the hill, I passed about 8 guys, all drinking, half smoking pot and half with no shirts... at 6:00am. So, to fit in, I decided to take off my shirt and drink with them. Yeah... I'm kidding. I walked up the hill and one of the guys (who was wearing a shirt) started shouting at me, "hey photo man... take our picture... come on photo man." So I figured I was in no position to say no to them, so when they realized that I was willing to photograph them, three of the 8 guys stood together, with their weed and drinks in hand, and posed for the attached picture. You can pretty easily tell the guy who asked for the photo to be taken. He's the guy who's not covering his face and is actually smiling. Anyway, after taking one photo and thinking "okay, it's time for me to get out of here," the guy, in his completely wasted, drunk voice, said, "thank you photo man... now share that picture and tell the world about us." I'm not sure what I'm supposed to tell the world, but here's the picture. Taken at 1/80 sec at f/6.3, ISO 100 and processed in Tonality Pro. Enjoy!
Street Photography
What is Street Photography?
Let me start by clearing up a common question... Street photography is not photos of streets, although I guess it could be. In essence, street photography is a type of candid photography done in a public place, be it a street, a restaurant or even public transport. It is similar in approach to photojournalism and mostly involves people (and/or animals) in a populated environment (which provides the context of a story told), such as a city. However, street photographers often focus on everyday lives of strangers rather than some kind of important event photojournalists are more interested in. Usually, street photographers try as much as possible to stay unnoticed when photographing. The goal of street photography is to capture scenes unaffected by the author of the work so as to show a natural story and subject. Story and subject are possibly the most important aspects of a good street shot. Henri Cartier-Bresson, arguably the best street photographer of all times, “the father of photojournalism”, had once said: “Above all, I craved to seize the whole essence, in the confines of one single photograph, of some situation that was in the process of unrolling itself before my eyes.” I personally love street photography cause you really can't screw it up. It's whatever you want it to be. It's a reflection of whatever you see. Nobody else will have the same street photos as you do.
All of the following pictures were taking during my recent trip to London.
Noticing and telling a story through a photograph is one of the most difficult tasks to master when doing street photography. Crucially, it involves the not-so-simple matter of actually taking the shot.
Stop Moving
This tip has had the biggest affect on the quality of my photos... at least I think so. Do you treat your street photography as if you are taking a beautiful stroll through the city? There is nothing wrong with this of course, but it is very hard to walk, pay full attention and still capture quality street photos at the same time. You will often find yourself out of position when a moment happens and it is much easier to be noticed when you try to get yourself into position. Finally, people are usually moving in the opposite direction of you and so it can be tough to stop your motion enough to achieve a sharp shot while framing correctly at the same time. All of this takes a lot of coordination to pull off while moving.
The key is to slow down. Make a point to stop every few blocks and wait for a few minutes. See what happens. You want the subjects to come to you and not the other way around. Explore your surroundings in a detailed way and wait for things to unfold around you. You will be surprised at the amount of moments that will occur while you are just standing around. Trust me... you'll think there's nothing or nobody around to take a photos of... just wait a few minutes. Stand in the same spot and wait... stuff will happen.
Get Close
When I say close, I mean GET CLOSE. Get so close so that when you are taking photos of people on the street that you can see the perspiration dripping from their forehead or the texture of their skin. By using a wide-angle prime lens (as mentioned in the before point), you will be forced to get close to your subjects. The advantage of this is that the wide-angle lens will give you a perspective which makes the viewer of your images feel as if they are a part of the scene, rather than just a voyeur looking in. Not only that, but when you are taking photos really close to people, they often think that you are taking a photo of something behind them. I recommend using either a 24, 28, or 35mm on a full-frame or crop camera.
Shoot some shots without people
Street photography is often wrongly associated with being entirely about photographing people on the streets. Street photography is about people, or more specifically about human nature, but people don’t need to be present in the scene. There are an infinite amount of opportunities out there for epic street photos without people. You just have to look for them. But let’s not confuse a street photograph without people with an urban landscape. An urban landscape is a straight shot of an urban environment, such as a simple shot of the Empire State Building. Street photos on the other hand say something about human nature. They have a message to them.
Check out their eyes
If you want to improve your street photography (or portraiture) by a thousand percent then paying attention to a person’s eyes is the way to do it. People can be so skilled at hiding their emotions on their faces but their eyes will never lie. I see too many street photos with blank stares these days. Search for that hint of emotion in a person’s eyes and it will have a transformative effect on your photography.
In addition, direct eye contact can be extremely important. It creates a powerful connection with the subject. I usually try to avoid being noticed and so I often don’t aim for eye contact but sometimes waiting for a person to look at you is exactly what a photo needs. The photograph will still be candid as long as you capture the subject in the moment that they first look at you and before they are able to react.
ALWAYS carry your camera with you
Like you've never heard me say this before! You have heard this a million times and probably 500 or more from me and you know that you should, but you always seem to find excuses or reasons NOT to always carry your camera with yourself. “It’s too heavy, it’s annoying, it’s a hassle, it’s frustrating.” I’ll tell you what’s frustrating. Missing the perfect photo opportunity (the decisive moment) and regretting it for the rest of your life. I have to admit that is a bit dramatic, but it is true. If you always carry your camera with you, you will never miss those “Kodak moments” which always seem to happen at the most unexpected times. I have taken some of my best images at the most unexpected moments—images that would have been impossible to take if I did not have my camera by my side.
Hopefully this helps you a bit and most of all encourages you to go out and take some street photos. Remember, photography is not done behind the computer screen, but on the streets with a camera in hand. Honestly when it comes down to it, all this obsession over cameras, lenses, and gear doesn’t matter. Grab your DSLR, point-and-shoot, iPhone, or whatever and hit the streets. The beauty of the world awaits you—don’t miss your chance.
Series: Behind the Photo
As many of you know, I spent the last week of January in London, and what many of you probably don't know is that I LOVE London. The people, the food (yeah, I said it. The food in London has really become fantastic and we had some great meals) and most of all the architecture. I love the buildings. Each and every one of them look like they could be the focus of a beautiful photo. I love how you could go into a Starbucks (not that I did) and it could be housed inside of a thousand-year-old building. I mean the Starbucks I often go to near my office is in a building that's nine years old. So when I found out I'd be going to London, I made sure to pack in a way that would allow me to bring my photo equipment. I even got a new bag for the trip that would allow me to bring everything I needed for photography but in a smaller bag. I went with the Lower Pro Runner 200 AW Backpack and I'm really glad I did. It's the perfect size for my camera and the three lenses I wanted to bring, which included the honking 70-200 2.8, which as you might now, is a pretty big lens. After the lenses there's still room for some extra batteries, the charger, memory cards and a case with some filters. It's a great bag for traveling and I highly recommend it. Not too big, not too small... just right.
Anyway, let's get to the photo. I chose this photo today because I have received a lot of questions about it and, frankly, it was a bit of a challenging photo to take.
To be honest, I thought pictures of the Parliament building and Big Ben all pretty much look the same. From this distance, there isn't a whole lot of options for shooting the building. You can just get Big Ben, or get the bridge and the clock, or part of the building and end with the clock, but I've always wanted to have a few good photos of this building. Ever since I first visited London, I wanted to come and get this shot and this was my opportunity. So, even though I didn't love the creativity needed for this shot, I really wanted the photo.
To make it a little different, I decided to make a panorama. For more info on how to make a panoramic image like this, type "pano" in the search box above and my previous blog posts on the subject should come up. Anyway, I decided to shoot a pano. Now, in order to get the soft, silky water I knew I was going to have to use some pretty long exposures which means having a really good tripod is a requirement. I took 7 photos, all overlapping by about a third and took them vertically to allow for the most leeway when using Photoshop to put them all together. If you shoot horizontally, you have less photo at the top and bottom to work with. When you use a good tripod, this is less of an issue since you're pretty much staying on the same horizontal plane, but it's still a good idea. I shot in manual mode so my camera wouldn't change the exposure if one image was a big brighter or darker than the others. If I shot on Aperture Priority, I'd run the risk of having different exposures for one or more of the photos, and when you try to stitch them all together you'll run into problems. Problems that can be fixed, but it's harder than it needs to be. So I shot each photo at 25 sec at f/18 and ISO 100. To get the 25 seconds I had to use a ND filter because it was already too bright when I took this shot. For this image I used a 10-stop ND filter from Hoya and it worked like a charm. I chose this exposure to have the shutter open long enough to make the water look soft and creamy but also so I didn't have the aperture closed down all the way to f/22 to maintain maximum sharpness.
Some people asked how I got that soft even blue sky. Well, this photos was taking at around 6:00 in the morning, so the sun hadn't come up yet. This is what we call the blue hour, which in the morning is before the golden hour and makes for really interesting and beautiful photos. I think photos look really sharp and clean at this time. 30 minutes later, the light totally changed and looked like this photo below.
So now the question is, if I was taking 25 sec exposure, how did I get that boat to be so sharp? At 25 sec, it should just be a blur whizzing by, right? So did I take a fast exposure of just the boat and use Photoshop to put it in? Nope! Wanna know the secret? Okay, but don't tell anybody... the boat wasn't moving. It was anchored right there in front of the building. Worked out great, huh?
After using Photoshop to stitch all the photos together and then to add some contrast and sharpness, erase a few dust spots on my sensor and clean-up some of the ugly scafolding that you can see still on the left of the photo... Voila! You can see the final image above and I really dig it. I've waited a long time to get it and it was totally worth it. Of course half the fun is getting up early, taking photos, then walking to the Borough Street Market for breakfast and coffee. It's amazing how much a hot cup of coffee can improve your photo taking abilities on a freezing cold, London morning.
Holiday Portraits
I've dedicated previous posts on providing tips for taking holiday portraits, so I'm not going to waste your time telling you what we've already discussed. If you're looking for tips for improving your portraits, especially those taken during the holidays, type portraits into the search box and the top, right side of this page. Doing that should bring up previous posts that were focused on the subject. I thought today's post I would highlight some of my favorite portraits I took over the last few days. Pictures of my best and cheapest subjects... my family.
As we did last year, we spent the holidays with family in El Dorado Hills, CA. It's a about 30 minutes past Sacramento on the way to Lake Tahoe. Well, I had lots of plans to take some landscape shots in nearby areas, but of course one of my main priorities this time of year is to take photos of the family, and especially the kids. Anybody with kids knows how fast they grow up and having new photos of them every year will help you remember how young, cute and awesome they were before they turned into the little terrors they are today. Even if you're kids are totally ugly, you'll want photos. I took pictures of these same kids last year, but I wasn't going to miss the opportunity to capture them again. The most beautiful family holiday photo is the photo that captures what your kids or family members are like now... this year. What is the "now" for your family? Do you have little ones who run around everywhere? If so, consider a photo like that for your photos, cause in the next few years your "now" will look very different. Capture something about today that will be unforgettable to not only you but your family!
When I'm hanging out at the house I usually have a plate of food in one hand and a drink in the other, but I never know when a great photo opportunity will pop up, so I always keep my camera close. I think it drives my family crazy, cause it's always near by... usually on the kitchen table, in front of the TV or hanging on the coat rack. You can be sure wherever it is, it will be in the way. I also always make sure when I'm just hanging out that my batteries are charged and the lens I want to use is on the camera. During this trip I mostly had my Sigma 50mm f/1.4 on my camera while I was in the house. It's a great lens to use in doors cause it's wide aperture can almost see in the dark, so I can still get sharp photos in relatively little light. I also always had my Canon Speedlite 580ex on my camera. Again, it's not used all the time, but I want it ready to go when I do need it. I actually found myself using it a lot this year. An off camera flash is one of those things that you don't realize how much it will benefit your photos until you start using it. Try it, you'll like it.
If you remember last year, I actually set up a studio in the garage and took portraits on a backdrop, with a full lighting set up and even snacks! This year I decided to go more causal. Don't just plan on taking photos around the tree or at some fancy family dinner. You never know when you'll have a great opportunity. I literally took my camera with me when I took the dogs outside for a pee, or when we hit the malls for those after Christmas sales. I just took my camera around with me and took photos when the mood hit, or found myself in a moment I really wanted to capture. Below are a few of my favorites from the week. No rules, nothing set up, just took 'em when I felt like it. I got some good shots and I know the family is really happy to have the photos, even if they think I'm really annoying at the time.
So I don't want to leave you without offering a tip. Some great kernel of knowledge that makes the last two minutes of reading worth it. Okay... here it goes. DON'T TELL YOUR SUBJECT TO SMILE!! Seriously, there's nothing that generates a faker, more uncomfortable, unnatural smile than to tell somebody to smile. Say something else... anything. I used i know a photographer that would have her subjects say "fuzzy pickle." When I'm taking pictures of kids, I usually include the word "fart" somewhere in my request. That always gets a laugh, cause come on... farts are funny. Anyway, try it. Say something that will illicit a nature smile rather than a forced, uncomfortable one. Oh, and when taking a family holiday photo, get everyone to close the gaps by getting as close as they can to each other. If you can see any background between two people (or worse crazy Uncle Bob), have them get in closer, tighter, for a more affectionate feel.
Depth of What???
When you are new to photography, there are tons of things to think about when you're taking a photo. The shutter speed, the aperture, light, what you had for breakfast, etc. Literally tons of things. One of the more misunderstood terms is depth of field, or DoF. You may have heard the term depth of field, but if you are new to photography you may not yet be taking advantage of how it can enhance your photos. A basic definition of depth of field is: the zone of acceptable sharpness within a photo that will appear in focus. In every picture there is a certain area of your image in front of, and behind the subject that will appear in focus.
This zone will vary from photo to photo. Some images may have very small zones of focus which is called shallow depth of field. Others may have a very large zone of focus which is called deep depth of field. Three main factors that will affect how you control thedepth of field of your images are: aperture (f-stop), distance from the subject to the camera, and focal length of the lens on your camera. Here are some explanations and answers to other common questions concerning depth of field.
How does aperture control depth of field?
We talked about aperture in a previous post. If you forgot, or never read it, use the little search box in the upper right corner of this page and search for "aperture." Anyway, aperture refers to the access given to light from the lens to the camera sensors. The size of your aperture (the diameter of the hole through which light enters the camera) controls the amount of light entering your lens. Using the aperture (f-stop) of your lens is the simplest way to control your depth of field as you set up your shot.
Large aperture = Small f-number = Shallow (small) depth of field
Small aperture = Larger f-number = Deeper (larger) depth of field
I know this can sound confusing. Large things equal small numbers and vice versa. WTF? Just remember that the lower your f-number, the smaller your depth of field. Likewise, the higher your f-number, the larger your depth of field. For example, using a setting of f/2.8 will produce a very shallow depth of field while f/11 will produce a deeper DoF. If you're not totally confused now, read on.
Now what about focal length?
Focal Length refers to the capability of a lens to magnify the image of a distant subject. This can get crazy complicated, but the simple answer is that the longer you set your focal length the shallower the depth of field. Come on, that one is pretty easy, right? At least easier than that DoF stuff above.
Wait, distance controls depth of field too?
The closer your subject is to the camera, the shallower your depth of field becomes. Therefore, moving further away from your subject will deepen your depth of field.
So when should I use a shallow depth of field?
Using a shallow depth of field is a good way to make your subject stand out from its background and is great for portrait photography. Shallow DoF can also be useful anytime you want the subject to stand out from its surroundings, like wildlife shots. This is also useful because many wildlife photo opportunities are low light situations, and increasing your aperture size will give you more light. Shallow depth of field is also very often used in sports photography, where many times you want to separate the athlete from the background to bring attention to them. The result of this should also help give you a fast enough shutter speed to freeze the action.
In this example, notice that the eyes are totally sharp and in focus? That's where I wanted focus... for the eyes to be sharp. However, the background right behind her is soft and out of focus. That's a shallow depth of field.
Okay, I think I got it, so when should I use a deep depth of field?
Easy... Landscapes, period. Okay, not period. There are tones of examples where a deep depth of field would make sense that are not landscapes, but in general... landscapes.
Notice that everything is in focus here... from the front of the image all the way to the back... miles away. that's a deep depth of field.
Hope that helps. It's a concept that took me a while to understand, but once I did, I feel like i immediately became a better photographer. If nothing else, when you're at a dinner party, talking about DoF will really make people think you know what you're talking about. Try it, I promise it works.
Series: Behind the Photo
So, here we are again. It's the Friday before a weekend where I feel like I should be creating a blog entry, but I didn't really feel inspired by anything in particular. So I decided just now to create a new series called Behind the Photo. First of all, if I'm going to be honest, I didn't just think of this.... I thought of it yesterday, but that's not important. So now when I'm inspired to do a blog post and don't have anything in particular I feel like writing about, I'm going to pick a photo or two that I really like, or has some special meaning, and I'm going talk about what went into creating that image. It may be once a month, or it may be once a week, but I'll try and keep these coming, because cause I know when I was learning photography, I wanted to get every bit of info from other photographers. I wanted to know why they made the choices they did and what went into creating their images. This will be my attempt at helping readers get into my head. Good luck in there.
So this entry's photo choice was a no-brainer as far as I'm concerned. Anybody who knows me knows I'm a really big Giants fan. I love those guys and last night was one of the most fun, exciting games I've ever seen. In the last inning the Giants won with a walk-off homer by the most unlikely of heroes, clinching the National League Championship and sending them off to Kansas City to face the Royals in the World Series. Since I'm still thinking about that game and the excitement is still coursing through my veins, I wanted to talk about one of my shots of the Giants from the game I went to in Milwaukee in August. Since Angel Pagan is out for the season and will miss the World Series, I thought I would choose one of the photos I have of him from that game.
So this is the photo. Angel Pagan taking his swing at the plate in the first inning of the game against the Brewers. In fact, this was actually the first batter of the game. There is a roof over this stadium and I didn't know how that would affect the light as the game went on, so I tried taking a lot of pictures right away, before they closed the roof and the light changed. First thing to notice is that this picture was taking with my Panasonic micro four thirds camera and not my Canon 5D. I was traveling with only a carry-on and frankly, i didn't know if they'd let me take a big camera into the game, so I thought it was safer to just bring this. It doesn't take as good of pictures, and it's much slower to shoot and to focus, but it's better than nothing and I couldn't risk my Canon 5D being not allowed into the stadium.
This photo was taken at 1/640 sec at f/5.6, ISO 1600 and I used a 45-200 lens at 78mm. Anything jump out at you? Yeah, me too. Why the heck would I use ISO 1600 for a shot outside? Well, good question, I'm glad you asked. You'll notice my aperture was wide open for the lens at 5.6. That was going to get me the most shallow depth of field and would let in the most light. For this shot I was mostly concerned about shutter speed, because I didn't want to bat to just be a blur as he swung. So, even though it was outside, we were in the shade and it really wasn't that light in the stadium. That ISO was required to get the shutter speed fast enough to freeze the bat. In fact, if you notice, the bat isn't tack sharp. I was trying to get a bit of movement, but I wanted a clear shot of the bat and not a bat-blur, which is a term I just made up.
Another suggestion when you're taking sports photos... take lots of pictures. It's hard to predict where the players are going to be, how fast they'll be moving, how long they'll be standing there, etc. So to remove as many variables as possible, take a lot of photos. You can always toss out the ones you don't want when you're done.
The above image is a perfect example of why you should take a lot of photos when you're shooting sporting events. This shot was literally taken 10 seconds before the above image. In this image, Pagan didn't swing at the ball and the catcher took longer to get into position so the photo is much less dramatic. Now, it's also cropped differently, but you can see that the image itself is totally different and doesn't have the movement or the emotion of the photo above it.
This image didn't take a lot of post processing and everything I did do was done in Lightroom. You can see the untouched photo below. The first thing I did, which is the first thing I always do is take down the highlights and open the shadows a bit. There wasn't many shadows to open, so I didn't do much with that slider. After doing that I bumped up the vibrance a bit and then it was almost all dodging and burning. After the dodging (lightening) and burning (darkening) and a little bit of noise reduction, I added a vignette to the whole image and that was about it. Voila, we're done!
So take lots of photos, decide what you want your photo to look like and make camera choices that will deliver those result and... most importantly... GO GIANTS!!!! Next week is gonna be exciting regardless of what happens, but at the end of the season, no matter what happens, I'll have a bunch of great photos of the Giants losing to the Brewers in Milwaukee. ;-)
New iPhone Camera Even Makes Phone Calls!
So I did it... I bite the bullet and bought a new iPhone. Maybe I shouldn't imply that there was any question. I had mine ordered the minute they were announced and because I preordered it, it was waiting for me when I got home on launch day. I love it... I mean, I really love it. Yeah it's bigger, faster, thinner and lighter but I know, you're thinking... what else, as if that WASN'T ENOUGH!!! Well, okay. How about we mention how awesome the new camera and camera app is.
Wanna hear something crazy? Every day, people take more photos with iPhones than with any other camera. Not just because it's so easy, but because the camera really takes good photos... and don't even get me started on video. I don't think I'm taking videos with any of my other cameras and I have a Canon 5D, the video king of DSLRs. With the slo-mo and time-lapse features... who needs a DSLR? (Please don't tell my camera I said that. I still love him.) So back to the iPhone. Now, in addition to its 8MP and f/2.2 aperture, the worlds most popular camera is packed with other great new stuff. I mean, it has a super large 1.5-micron pixels... You know what that means??? Yeah, me either.
Obviously bigger is better, whether you’re talking displays or legroom on a plane or... well, let's stick with legroom on a plane. The larger format and thinness (stack two CF cards and you’re pretty much there) of the iPhone 6 and iPhone 6 Plus screens may be the headline-grabbing feature, but the wider viewing angle, increased brightness and improved contrast of the all-new Retina HD displays is likely to make photographers more excited than our non photo-loving friends.
So let's talking about one of my favorite features. Faster focusing! The iPhone 6’s sensor comes with phase detection autofocus built in. As you know, phase detection AF is more responsive than contrast detection AF. It uses two images seen from slightly different positions to drive the focusing mechanism, with the goal being to make those two images line up. Contrast detection is slower because it measures the focus directly from the sensor, with the goal being to find the point of maximum contrast – but it has to focus back and forth to find this point. The end result is that the iPhone 6 reportedly autofocuses twice as fast as the iPhone 5. TWICE AS FAST!
Another great feature is that you can finally do some decent tweaking (some people might call it editing) right in the photos app, and the camera now lets you adjust brightness before you take the photo by just tapping on the thing you can focus on and then dragging up/down on screen to brighten/darken. Remember when all you could do when your photo was take it! When the iPhone really got fancy, you could take an HDR photo, but was really about as fancy as you could get without downloading third party apps.
To access the Photo edits, click on a photo in the Photos App; tap the Edit button then tap on the dial icon. You can change the Light, Color or make a B&W. What you're seeing above is when you click Light then hit the three-line icon on the far right. Now click any setting and you get a slider for that feature and instant on-screen feedback. Nicely implemented all the way around — huge improvement.So the phone is great and the camera is super great. Check it out and take some photos. As the saying goes, the best camera is the one you have with you and since we almost always have our phones with us, my iPhone is definitely my best camera. Check it out. I don't think you'll be disappointed, and if you are...
I must be in the front row!
"I must be in the front row," said Bob Uecker in that once famous commercial. Well I got news for you Bob... The second row is just as good! As anybody who's read this blog more than a few times knows, I'm a big San Francisco Giants fan. In fact, my whole family is. That means that not just me and the people who live in this house, but my parents and my in-laws are big fans too! Well, although we've been to tons of games at AT&T park (where the Giants play) and many with my parents, my in-laws have never been. With them living in El Dorado Hills (about 2 1/2 hours away from San Francisco), they’ve actually never made it out to AT&T park for a game. Well, we were gonna fix that. We were at their house visiting a few months ago (and had a bit to drink, which is an important fact in this story) and Joanna, my wife, decided it was time they went, so she was determined to find them good seats. After a little bit of searching, she found 2rd row, right behind home plate for $100. An unheard of price for that location, right? She decides to buy those tickets for me too for my birthday (it’s the day before the game), cause who could pass up those seats for that price?! So we’re all going to see the Giants play in the best seats I’ve ever had and for my in-law’s first time.
Well, fast forward a few weeks and my Father-in-law calls to say he knows why the tickets were so cheap... They're away game tickets. Before we could say "wow, that was stupid of us" my wife had already found us flights and hotels in Milwaukee for the game. So last week we all boarded a flight and headed to Wisconsin to see a baseball game. Pretty awesome, right?
I decided to bring my Lumix micro four thirds camera which I have been using a lot lately. I don't like the quality of photo it takes, or the speed it focuses nearly as much as my Canon 5D, but it's really easy to travel with and that was important for this trip.
So after a day of travel and some good midwestern beef and beer, we went to the game. The seats were incredible and I knew there was going to be some great photo opportunities. Once the players started coming out of the dugout, I started shooting and I didn't stop until the game was over. Shooting sports is much harder that shooting, say, portraits, cause the subjects seem to be always moving, but you get used to it pretty quick. Since the sun was out and the dome on the stadium was open, I had plenty of light so I could shoot pretty fast. This really helped with the sharpness of the photos. Focusing was another problem cause the players are moving from one place to another all the time. It really helped to predict where the subjects were moving, so I could focus on where they would be as opposed to where they were. If you know a runner is going from 1st base to 2nd base, focus on 2nd base so you're ready for the shot when he gets there. If you're shooting the pitcher, you know he's going to go through his motion and fall forward toward the plate. So instead of lining up the pitcher along the left side of my photo, I lined him up against the right side, so when he was done with his pitch and he had fallen forward, he was right in place along the left side of the photo.
You can see some of my favorite photos from the day below.
Best story ever, right?
I've gotta admit, I don't usually like this kind of treatment, where a black and white image has only one part of it in color, but I think it works in this image and focuses the viewer on the iconic orange and black of Susac's uniform.

